WARRINGAH FREEWAY
Historic Photos
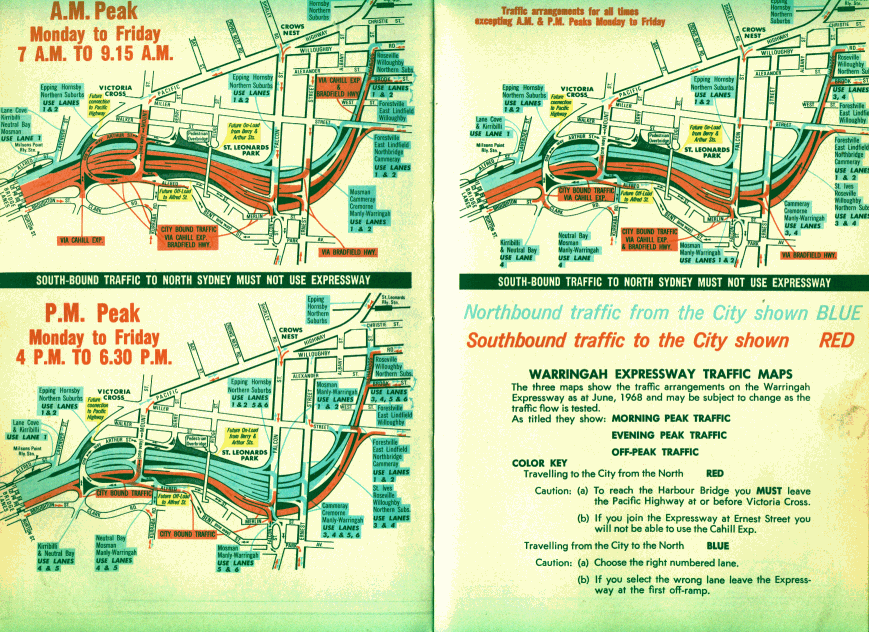
Historic Map: 1968 Gregory's Street Map showing traffic arrangements for the newly opened Warrinagh Expressway. Thanks to Ben Johnson for this scan.
The Department of Main Roads prepared a promotional film to commemorate this very significant project. Two short excerpts from this film have been uploaded by the National Film & Sound Archive here and here. I highly recommend clip 2 for the fantastic signage shots.
Construction Photos |
|
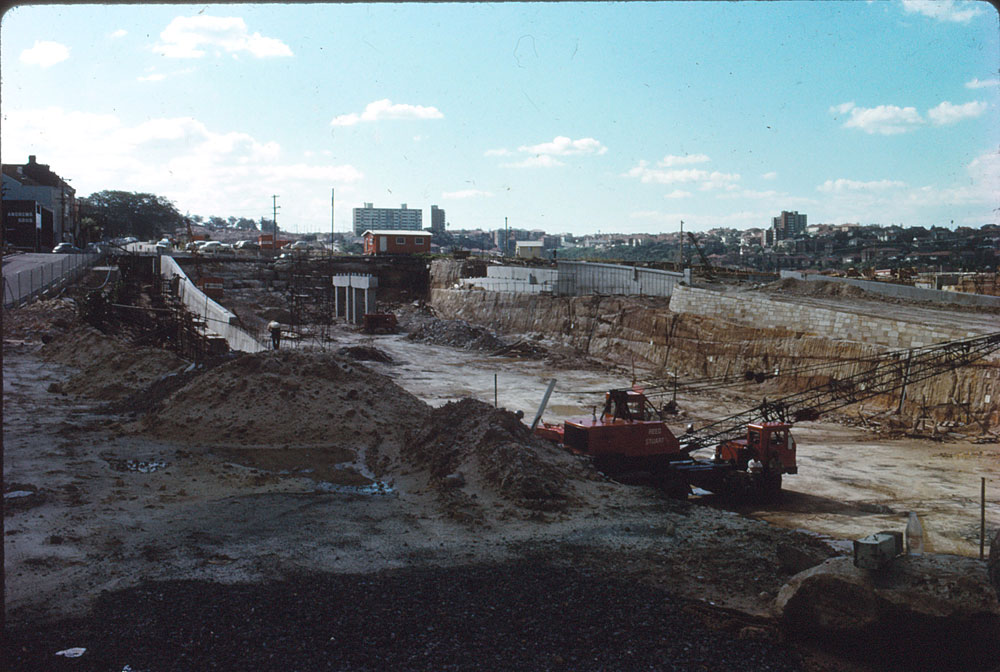 |
Looking north from alongside Arthur Street, North Sydney, showing construction underway on the bridge to carry Mount Street across the Warringah Freeway. Source: Kevin Noble, October 1965. |
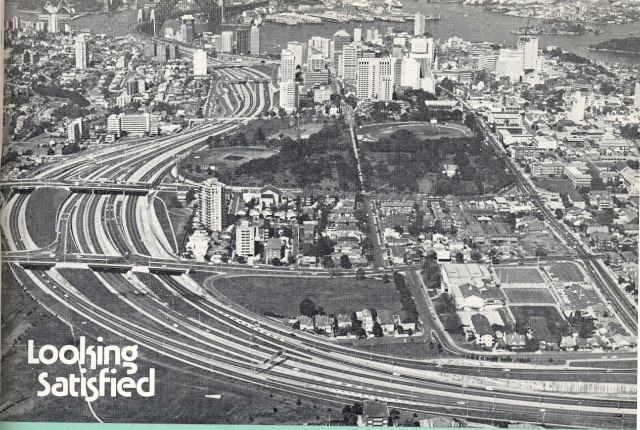
1967 aerial view of construction, looking south from Ernest Street with earthworks substantially completed. (DMR) |
|
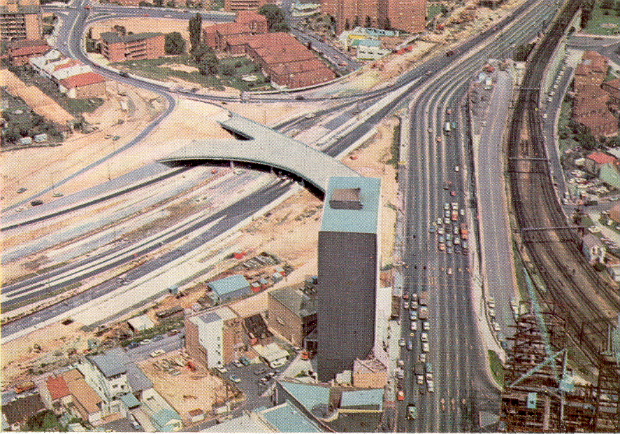 |
Late 1967 view of the construction at the Pacific Hwy/Bradfield Hwy/High St junction in North Sydney. (DMR) |
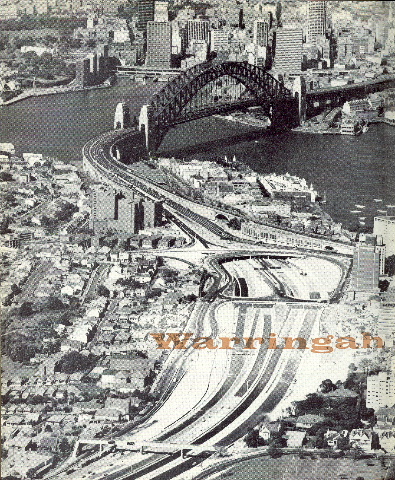 |
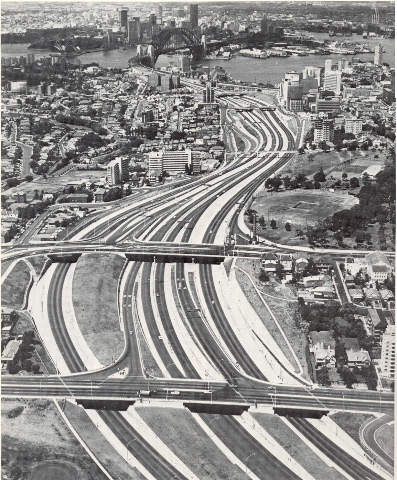
Aerial view of construction of the Warringah Freeway nearly completed, looking south from Ridge Street towards the Sydney Harbour Bridge. Taken in 1968. (DMR) |
1974 view of construction underway on Stage 2 of the freeway, looking west from Miller Street and showing the temporary connection from Stage 1 to Chandos Street. (DMR) |
|
Looking southeast from Willoughby Rd showing construction progress on Stage 2 in 1976. (DMR) |
|
Stage 1 Post-Opening |
|
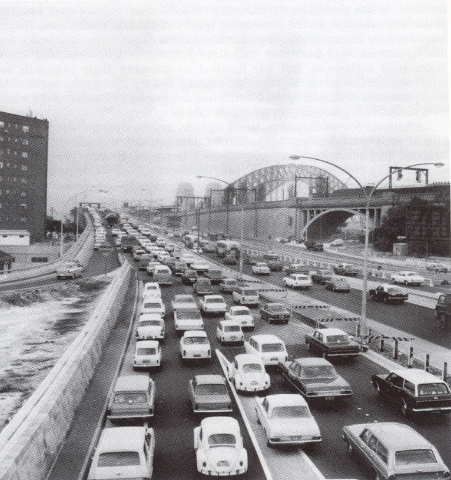 |
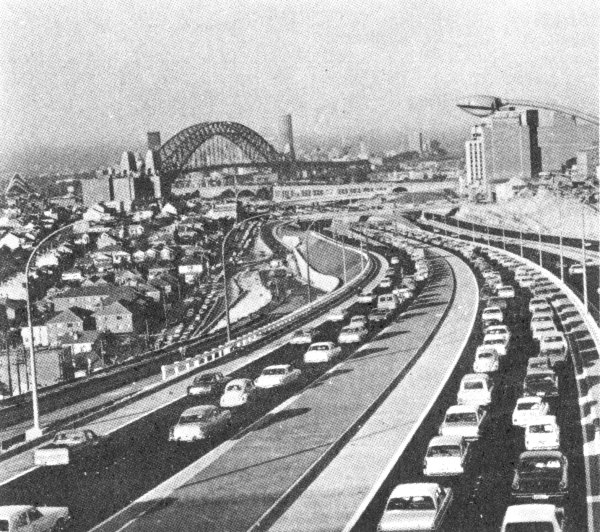
Morning peak hour traffic the day after opening, looking south from High Street, 1968. (DMR) |
 |
Northely view of the interchange with Pacific Hwy and High St at North Sydney. 1974. (DMR) |
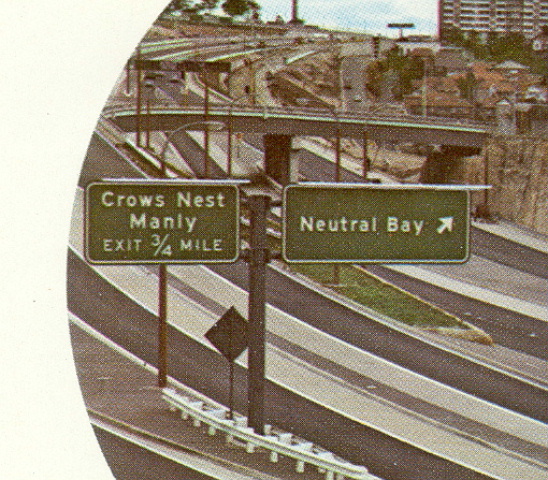 |
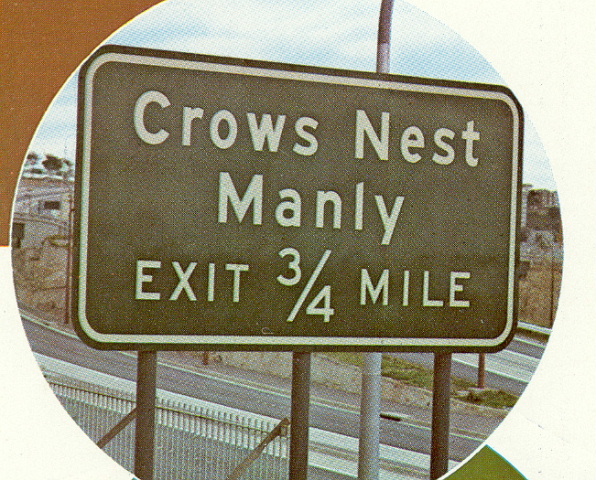
Pre-metric BGSs at the Mount Street ramps, 1968. (DMR) |
Looking south to Mount Street, 1968. (DMR) |
|
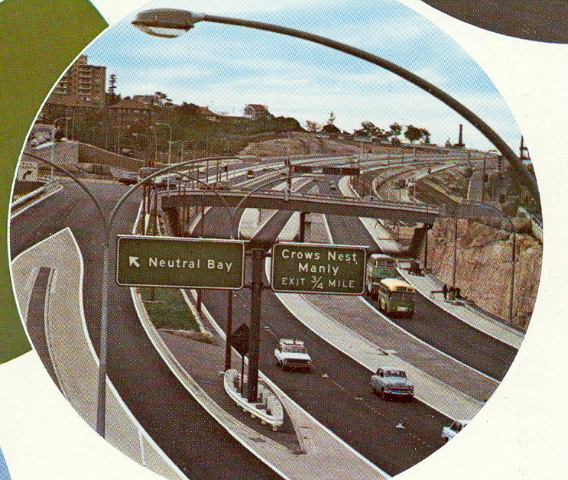 |
More pre-metric BGSs at the Mount Street ramps, this time on the former reversible southbound carriageway. 1968. (DMR) |
 |
Great pre-metric BGS for the Falcon Street exit. 1968. (DMR) |
 |
Looking south from Ridge Street in 1968. (DMR) |
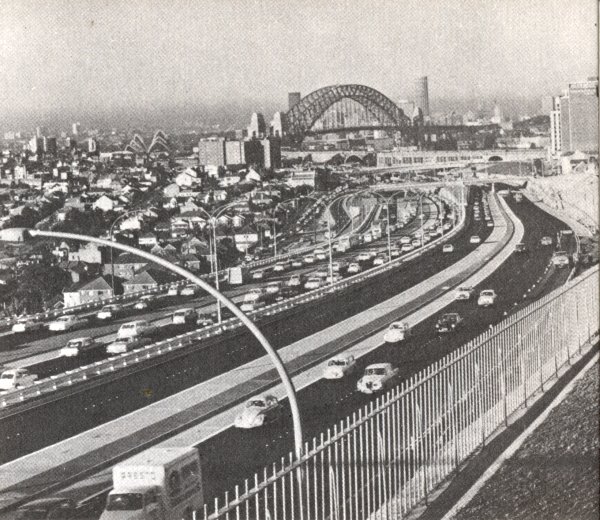 |
Looking south from Ridge St again in 1968. (DMR) |
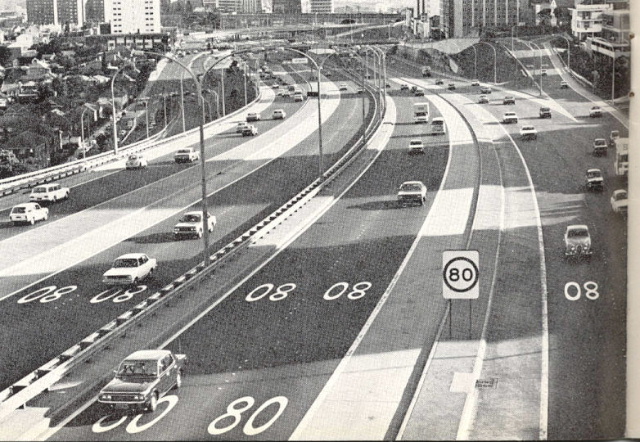 |
Looking south from Ridge Street footbridge, 1974. (DMR) |
Aerial view looking northwest over Ridge Street footbridge. 1971. (DMR) |
|
 |
The original version of Falcon St ID7,8 in 1968. (DMR) |
 |
Looking north from Ernest Street interchange in 1969. (NAASRA) |
 |
Erection of the massive sign gantry between Miller St and Ernest St. 1968. (DMR) |
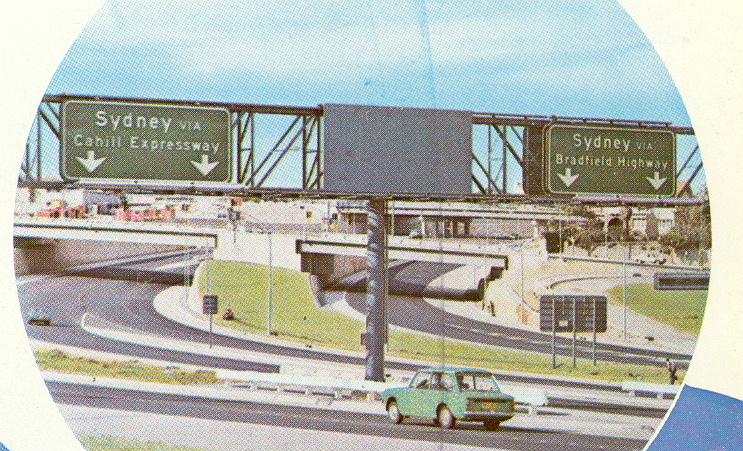 |
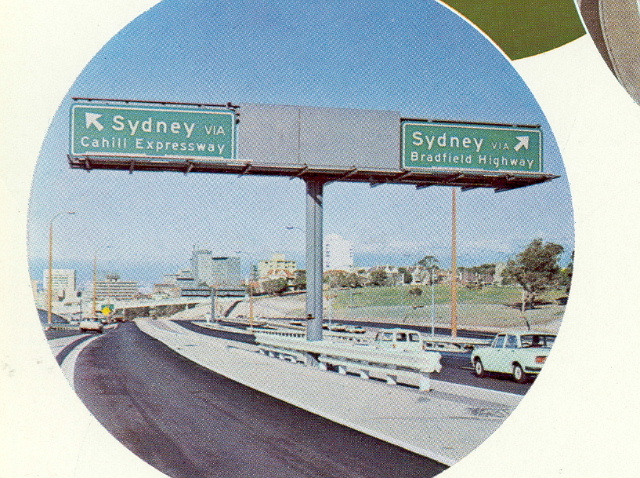
The original changeable meesage sign set-up with classic "Sydney via Bradfield Hwy" and "Sydney via Cahill Expressway" focal points. 1968. (DMR) |
This, and the next three photos, show the changing of the sign messages in 1974. (DMR) |
|
The sign assembly mid-change in 1974. (DMR) |
|
 |
And finally the completed change. 1974. (DMR) |
 |
1974 aerial view looking south from Ernest Street. (DMR) |
 |
Another southerly aerial view from Ernest Street in 1974. (DMR) |
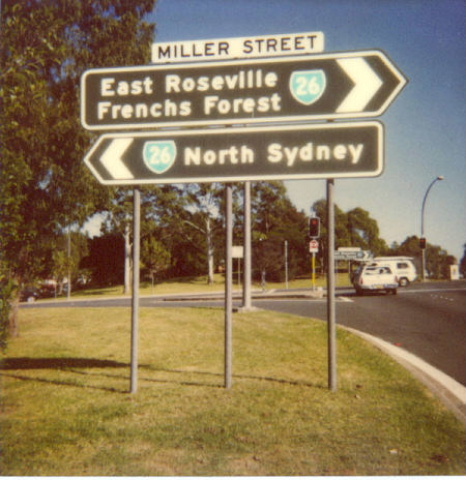 |
Old painted standard green ID signs at the Miller Street interchange that have since been removed. c.1990. |
 |
Newer ID sign at Miller St that has since been removed. Nov 1996. |
Looking southeast over the newly-opened Stage 2 of the Warringah Freeway. 1978. (DMR) |
|
Another aerial view over Stage 2, this time loloking directly east. 1978. (DMR) |
|
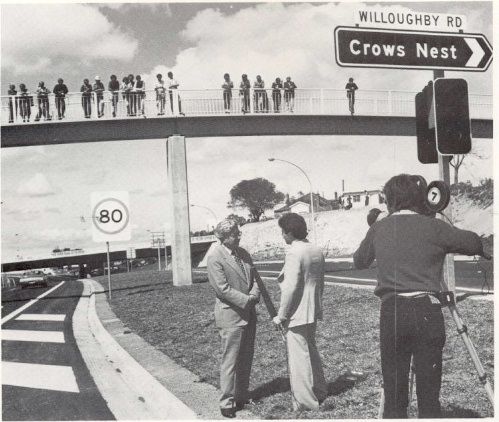 |
The opening of Stage 2, complete with old school signage at Willoughby Rd. 1978. (DMR) |
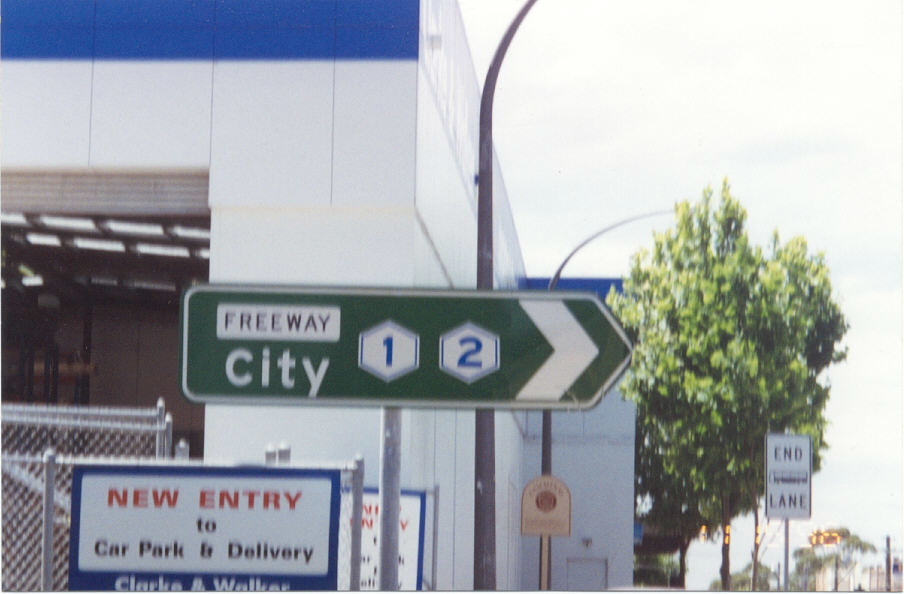
Gantry signage on the Willoughby Rd pedestrain overbridge, complete with F1 shield :-) 1978. (DMR) |
|
Last updated 8 March 2012 © Ozroads 2003-2012. |