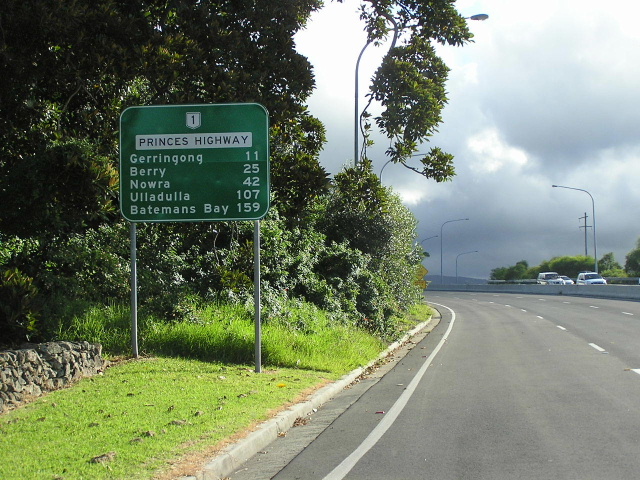
PRINCES HIGHWAY
National Route 1 Section (NSW) Photos
 |
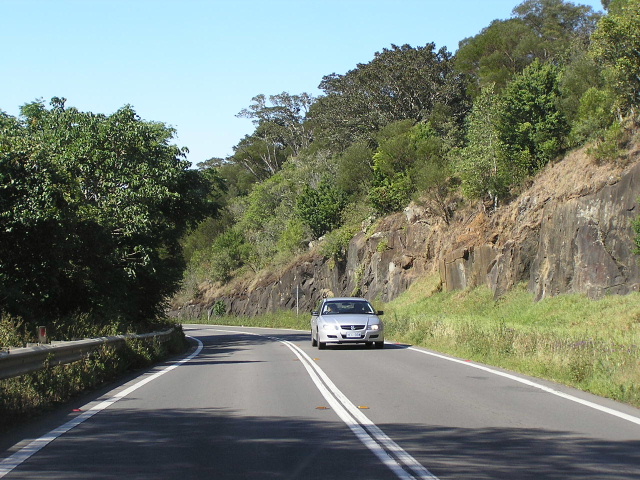
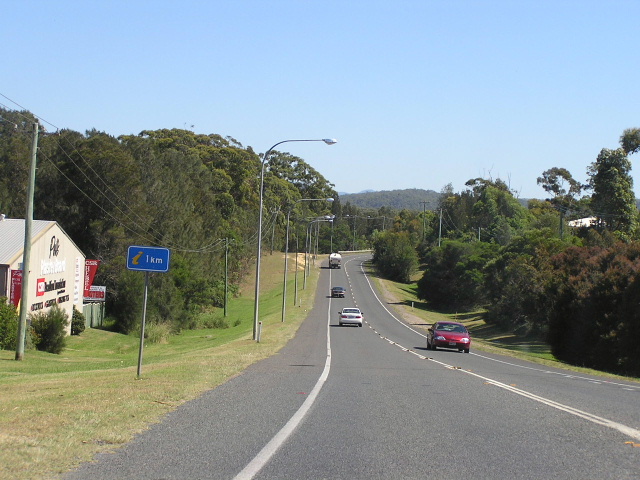
Heading south approaching the Illawarra Highway at Albion Park Rail, just south of where the Princes Highway becomes NR1. Dec 2004. |
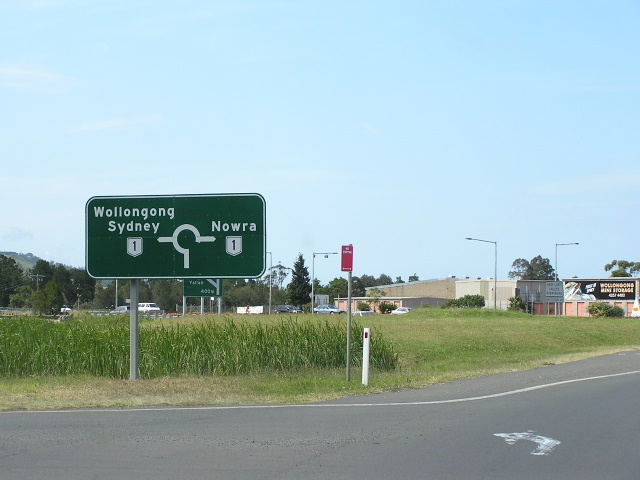 |
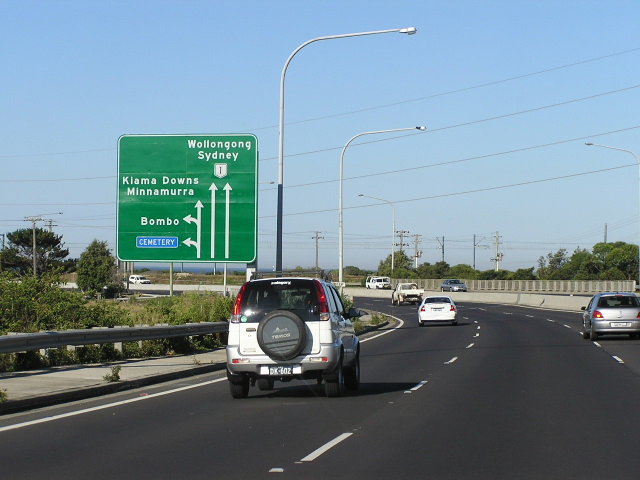
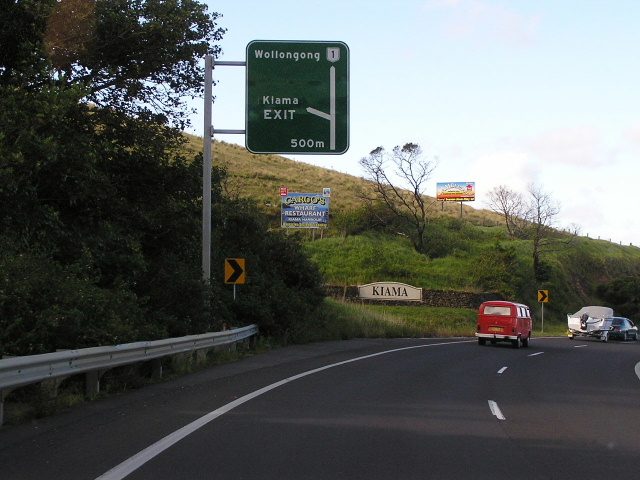
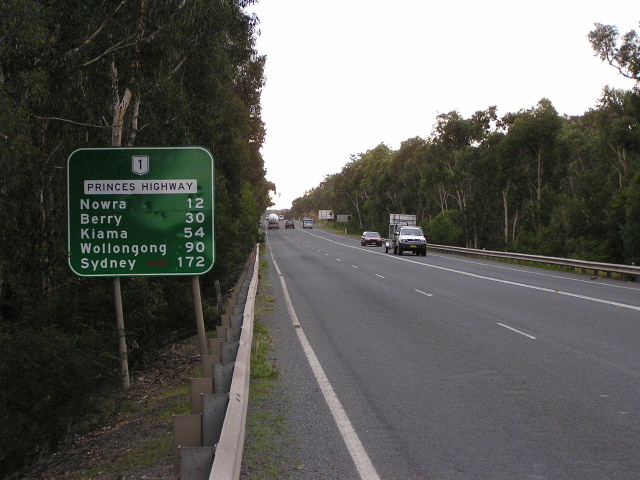
Signage on the Illawarra Highway for NR1 at Albion Park Rail. Dec 2004. |
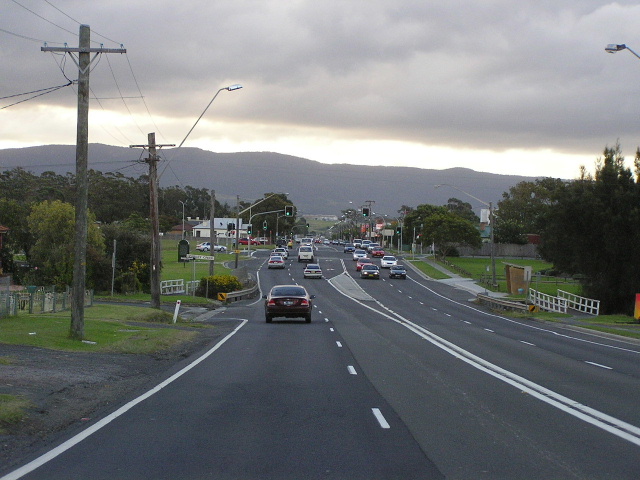 |
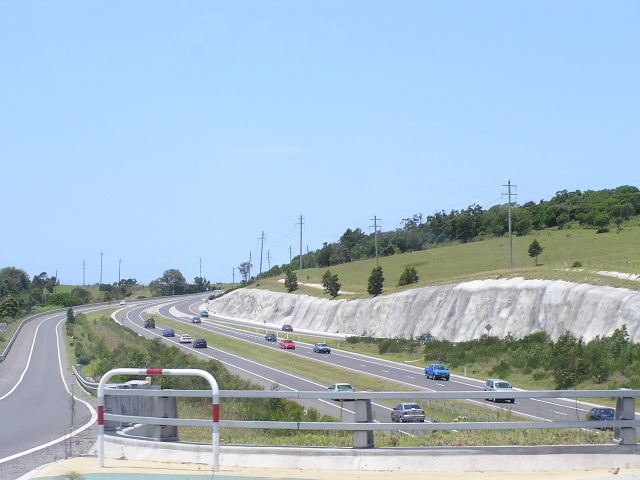
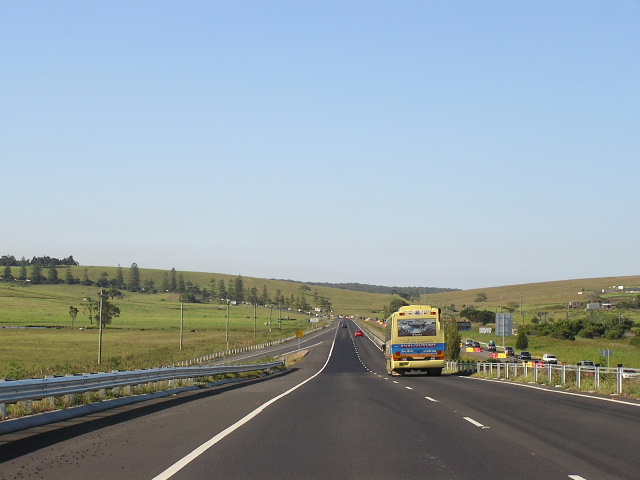
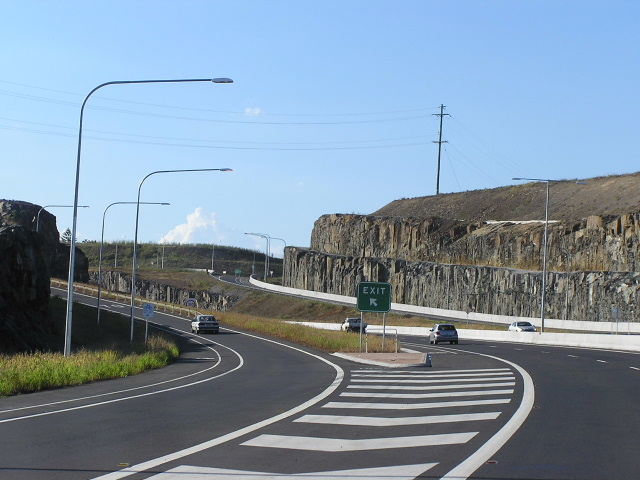
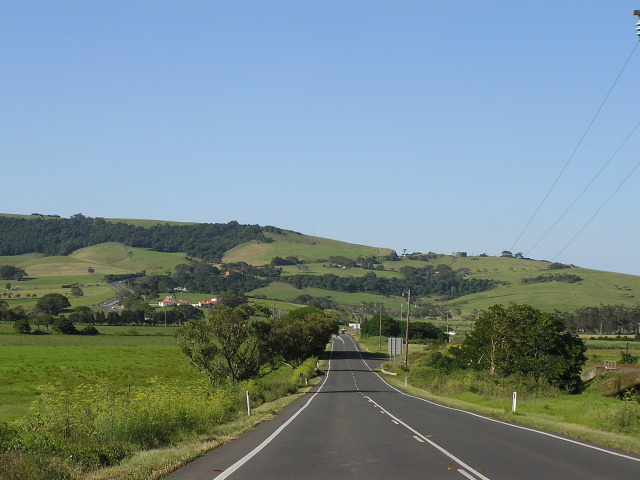
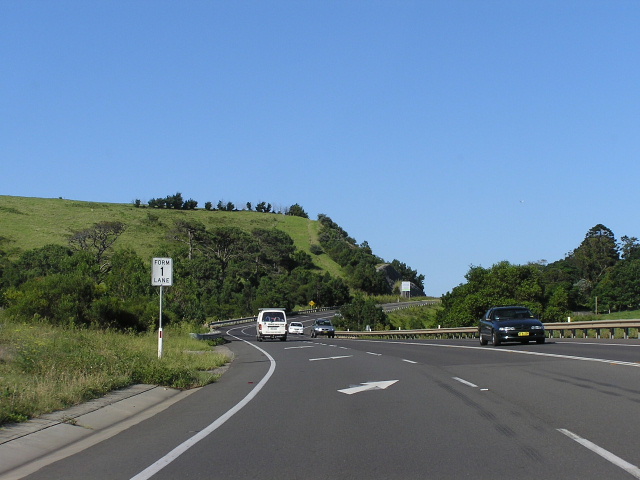
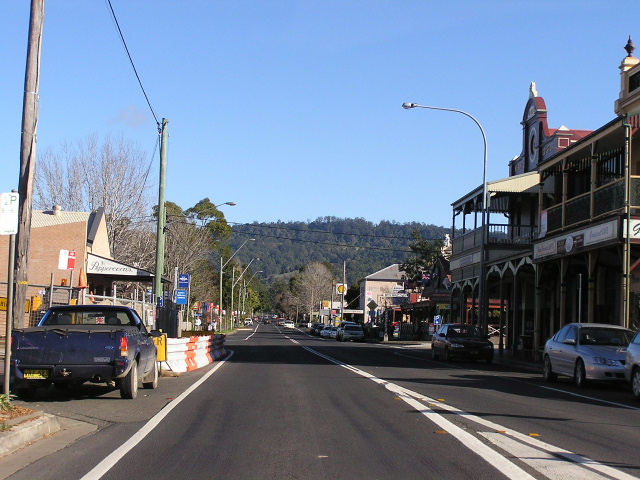
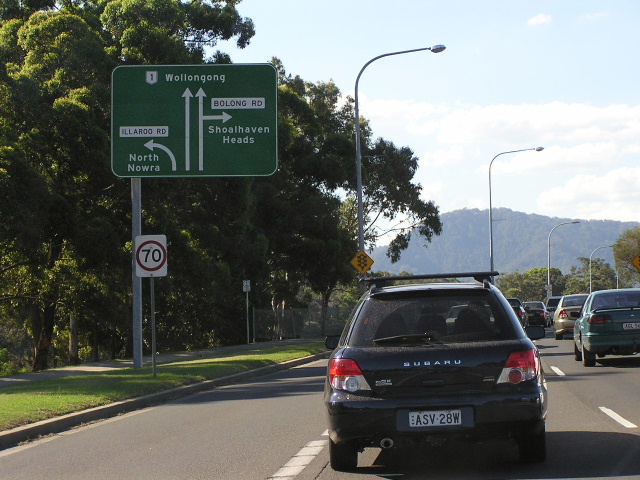
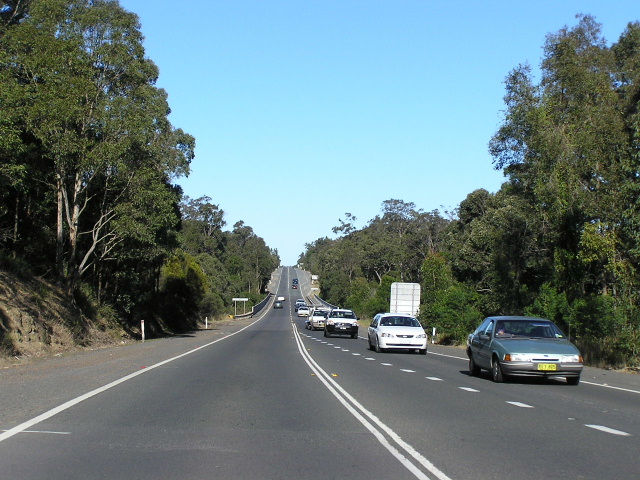
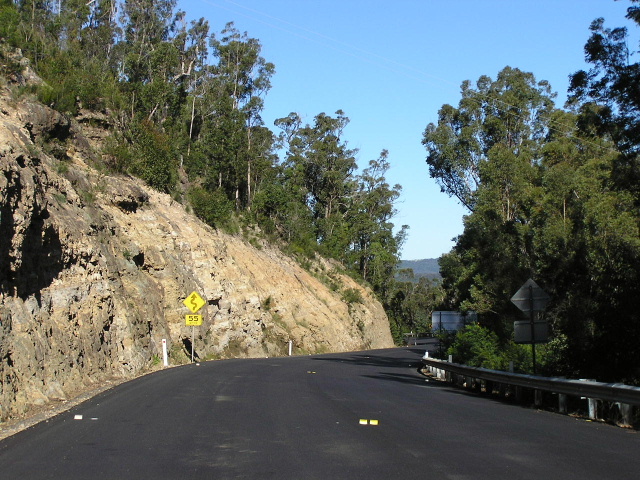
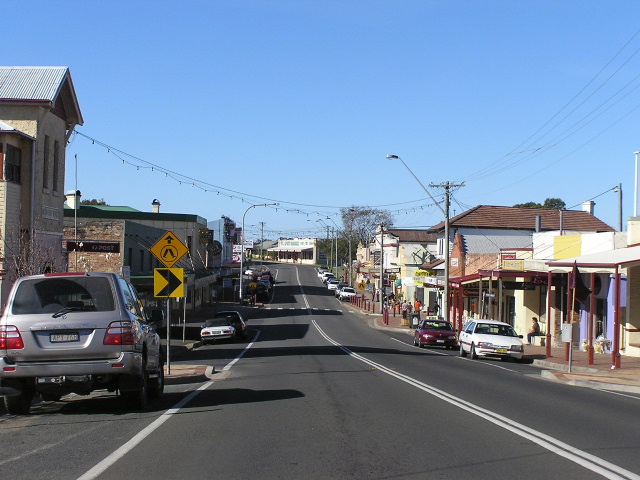
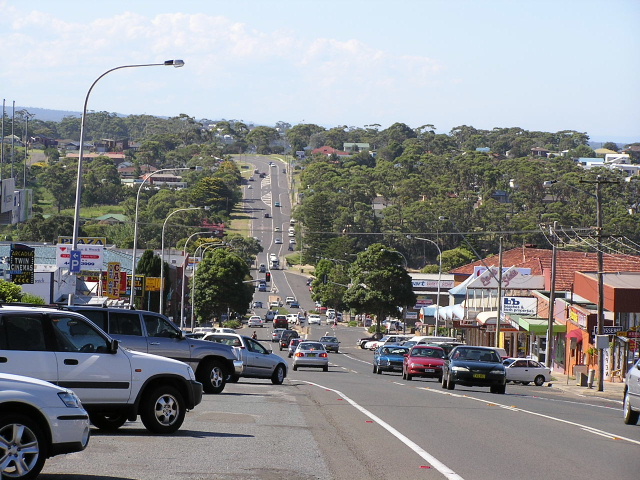
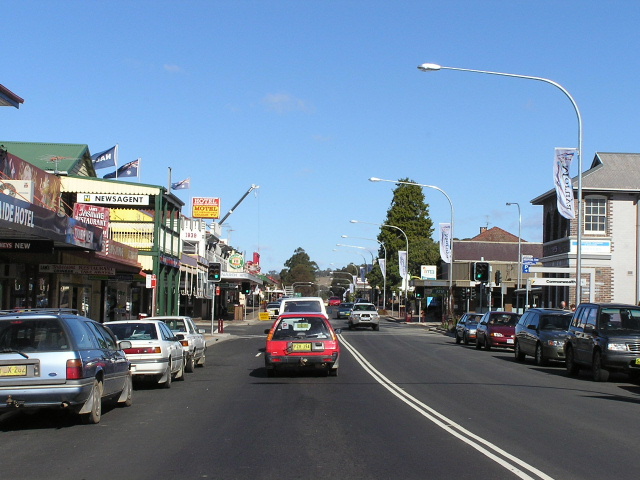
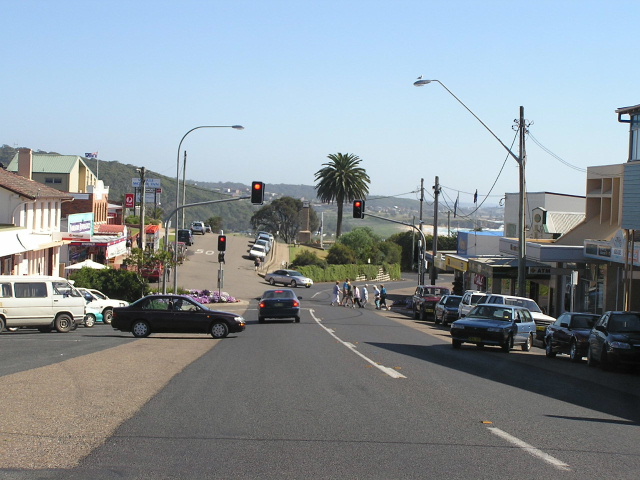
Looking west (north) through Albion Park Rail - the Princes Highway's very own Breezewood. July 2004. |
 |
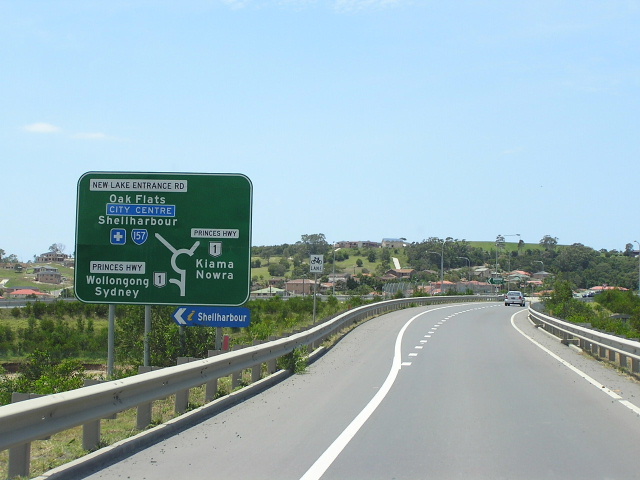
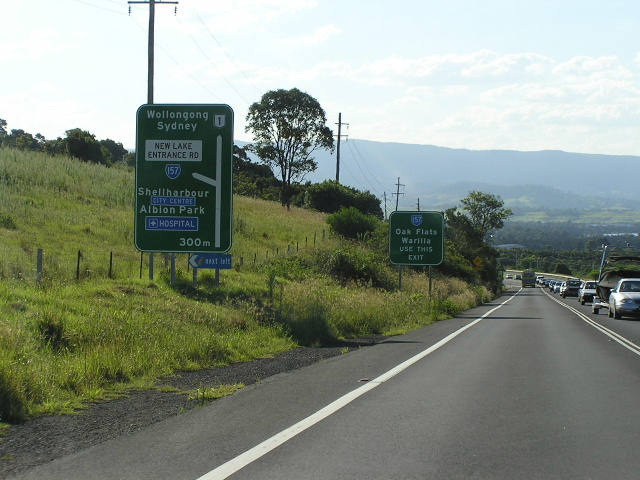
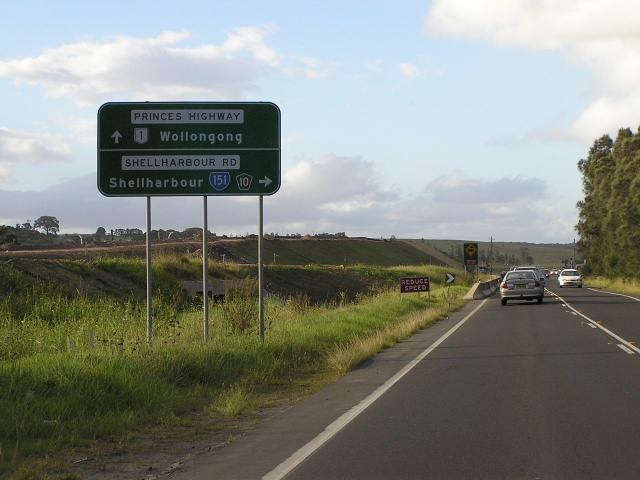
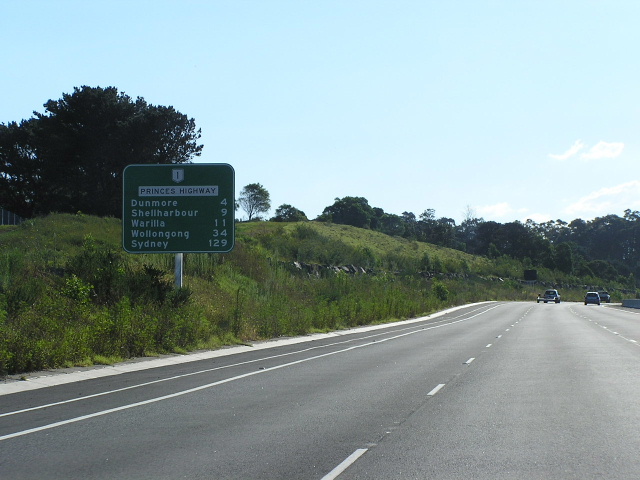
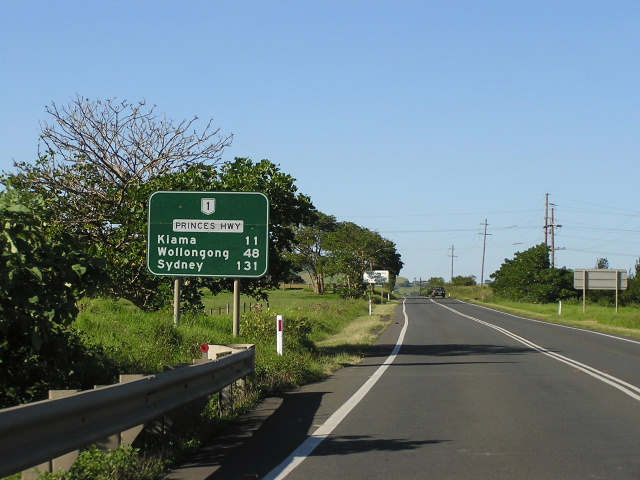
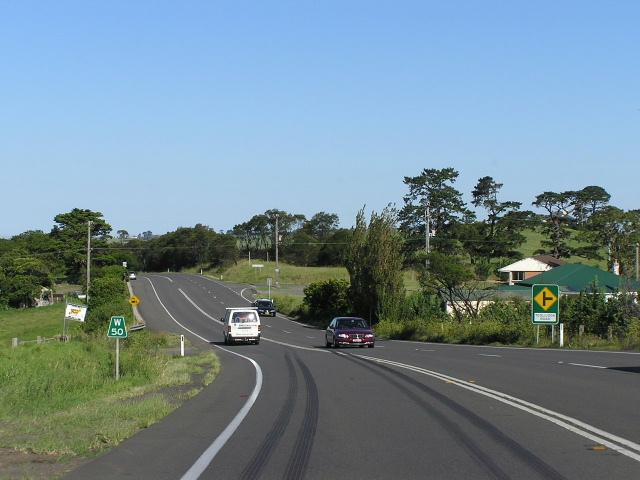
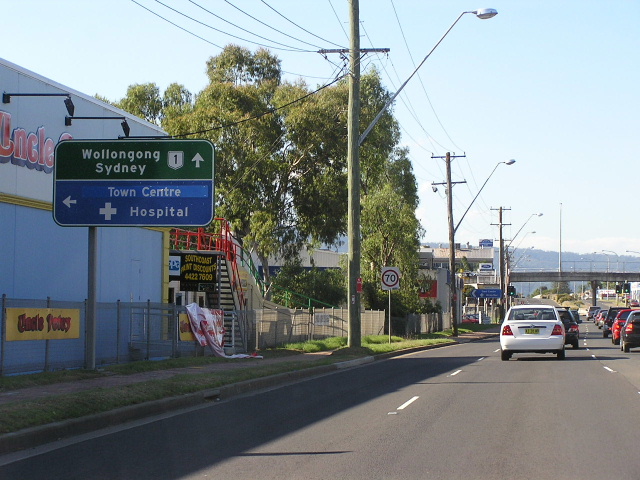
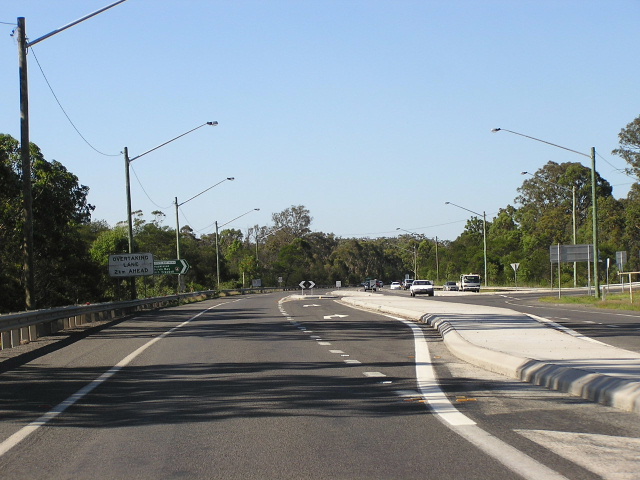
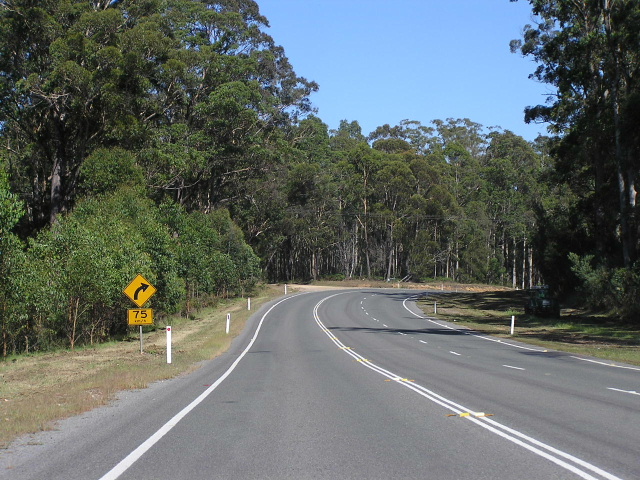
Southbound approaching SR157 (Tongarra Rd). July 2004. |
 |
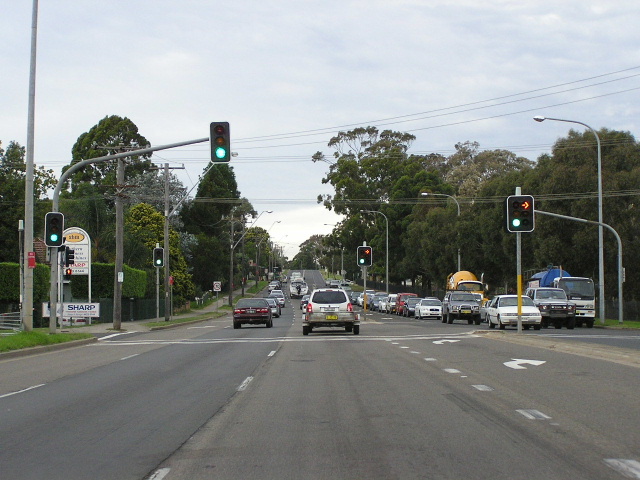
Eastbound (southbound) approaching the Oak Flats interchange with SR157. Dec 2004. |
 |
AD signage on the eastbound offramp at Oak Flats Interchange. Dec 2004. |
 |
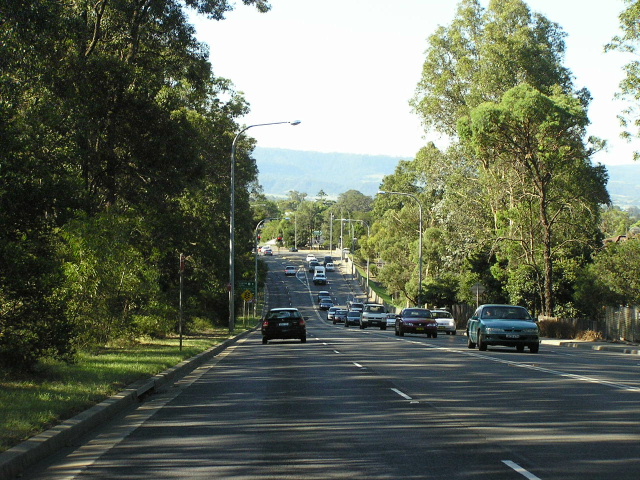
Looking east from the Oak Flats Interchange where the dual carriageways end and the Highway winds it way down to Dunmore. Dec 2004. |
 |
Looking south from the Oak Flats Interchange, showing residential sprawl in the Shellharbour area. Five years ago all those houses were empty paddocks. Feb 2006. |
 |
AD signs nortbound approaching the Oak Flats Interchange. Feb 2006. |
|
Looking east along the substandard Oak Flats to Dunmore section of highway. Dec 2004. |
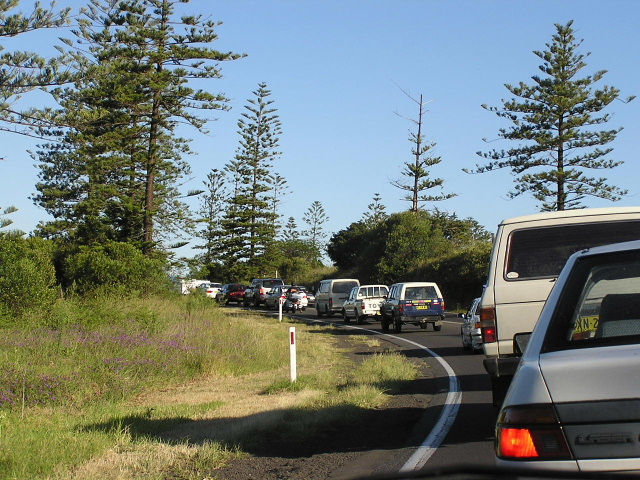 |
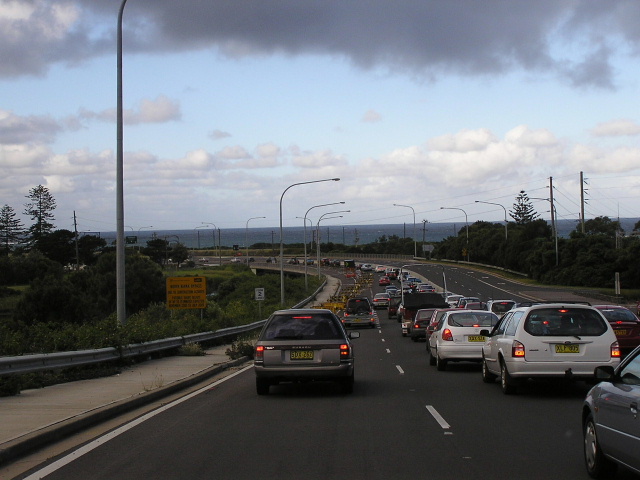
Friday afternoon traffic jam southbound on the winding two-lane Oak Flats-Dunmore section of Princes Highway. Feb 2006. |
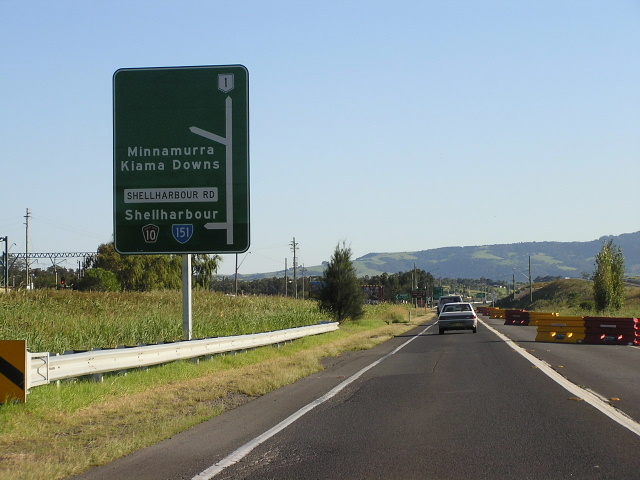 |
Southbound AD sign approaching the junction with Shellharbour Road at Dunmore. Feb 2006. |
 |
Looking north at the northern end of the North Kiama Bypass at Dunmore. Feb 2006. |
 |
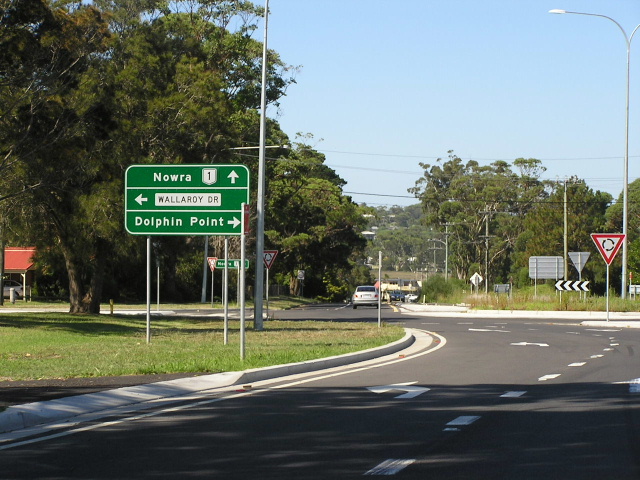
Heading north at the SR151 junction (Shellharbour Road) in Dunmore. Construction of the North Kiama Bypass is underway in the background. Mar 2005. |
 |
Looking south to Swamp Road at Dunmore. Feb 2006. |
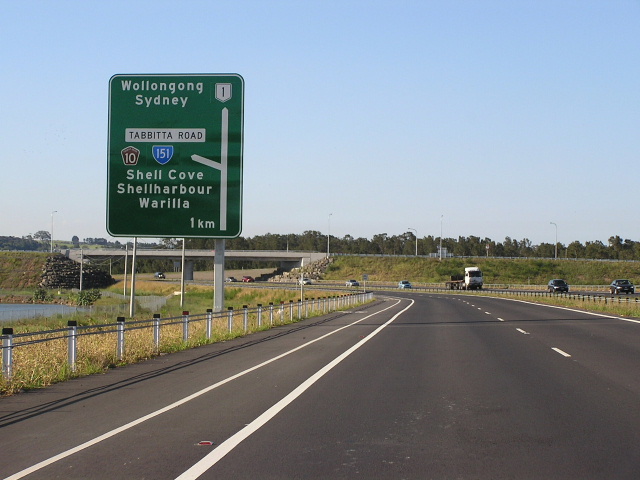 |
Northbound AD sign for the Tabbita Rd interchange at Dunmore. Feb 2006. |
 |
Distance sign heading south from Dunmore along the North Kiama Bypass. Feb 2006. |
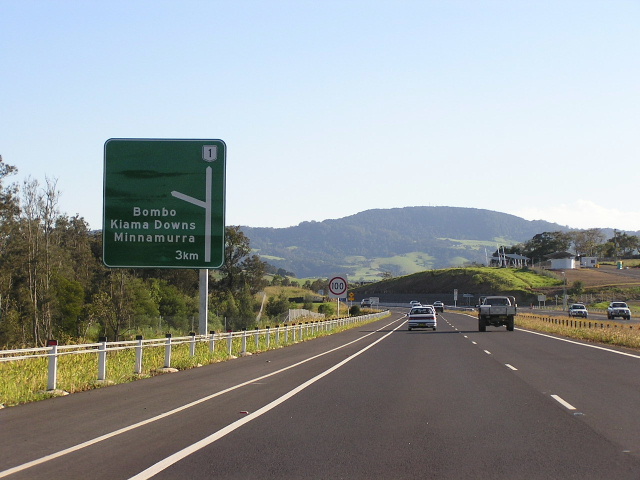 |
Unusual use of a 3km AD sign for the Bombo Interchange southbound on the North Kiama Bypass. Feb 2006. |
 |
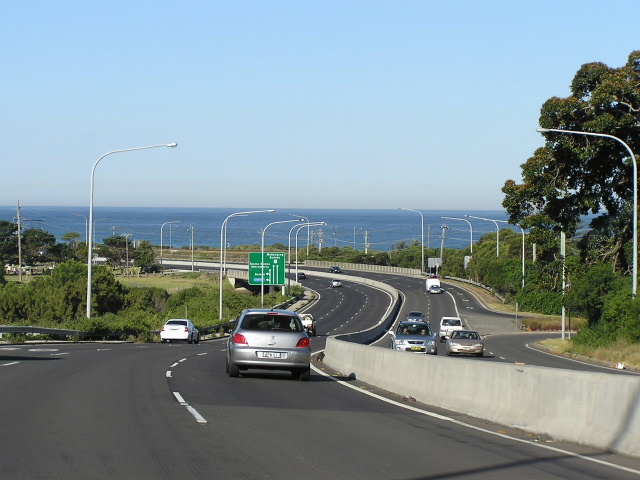
Impressive view looking north across the Minnamurra River/Terragong Swamp. Feb 2006. |
 |
Distance sign heading north along Princes Highway (North Kiama Bypass section) from Bombo Interchange. Feb 2006. |
 |
More dodgy-looking gantry signage at the Bombo Interchange. Feb 2006. |
 |
Looking north through an impressive cutting at the Bombo Interchange. Feb 2006. |
 |
Rather dodgy-looking gantry signage northbound on the North Kiama Bypass at Bombo. Feb 2006. |
 |
Looking north from Bombo Railway Station showing the Princes Hwy (North Kiama Bypass) to the left and the old highway alignment winding its way up the hill to the right. Feb 2006. |
 |
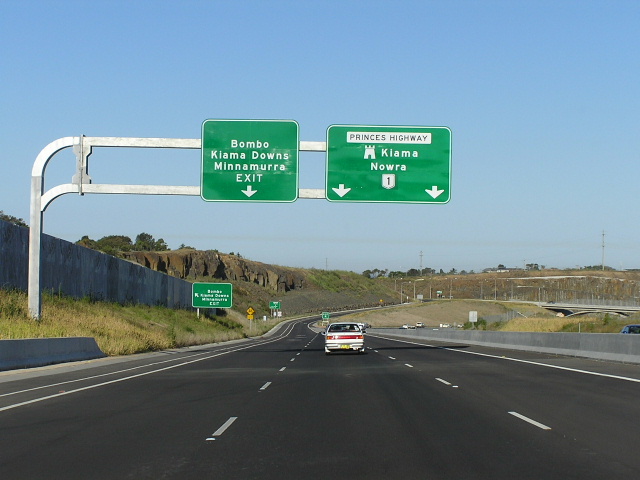
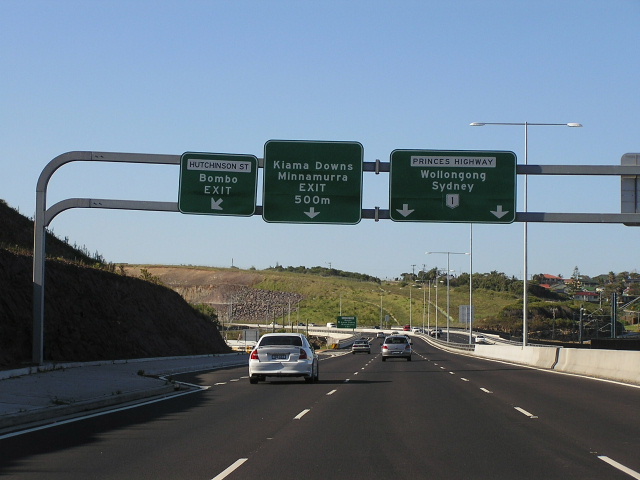
Gantry signs southbound approaching Gipps St (old Princes Hwy) at Kiama. Feb 2006. |
 |
A mixture of old and new signage at the northern end of the Kiama Bypass, heading south. Mar 2005. |
 |
Lane allocation AD sign northbound approaching Spring Creek at Kiama. Feb 2006. |
 |
Looking north to Spring Creek at Kiama. Feb 2006. |
 |
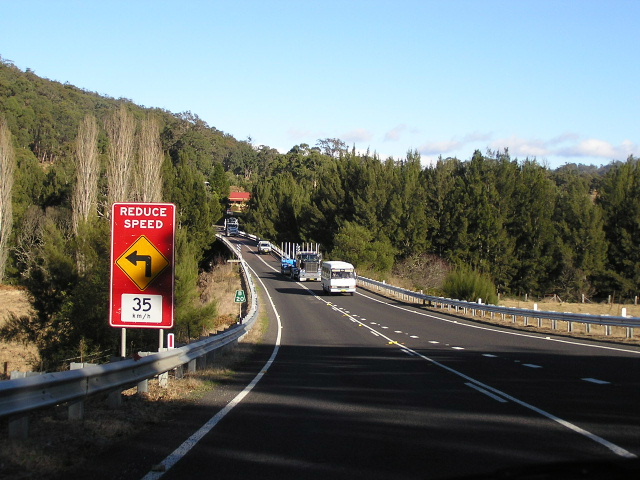
Traffic jam at the northern end of the Kiama Bypass where three lanes merges into one, a bottleneck soon to be solved by the opening of the North Kiama Bypass. Mar 2005. |
 |
Northbound on Kiama Bypass approaching the SR80 junction (Spring Creek Dr). Feb 2006. |
 |
Freshly installed RD sign heading south near Spring Creek Drive, Kiama. Mar 2005. |
 |
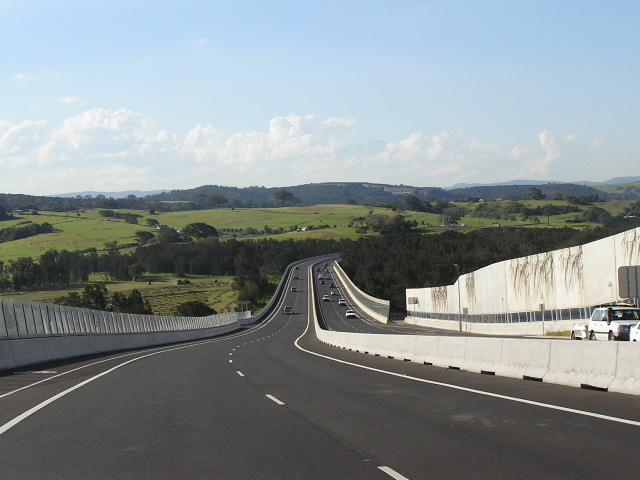
Kiama Bypass looking south to Saddleback Mountain Road showing the terrain through which the bypass was constructed on a 100km/h alignment. Mar 2005. |
 |
RD sign heading south from Kiama Bypass. Jul 2005. |
 |
AD sign northbound for Kiama exit. Jul 2005. |
 |
Old section of the Princes Highway now occupied by an unused information bay, 1km south of the Kiama Bypass. Feb 2006. |
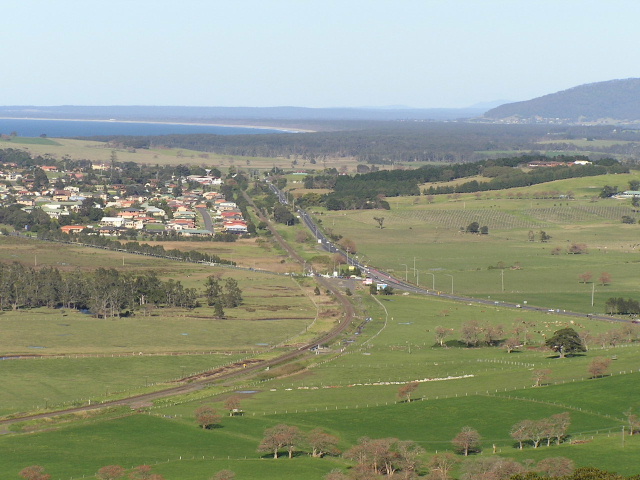 |
View south over the Princes Hwy, South Coast Railway and Gerringong from Mt Pleasant Lookout. Jul 2005. |
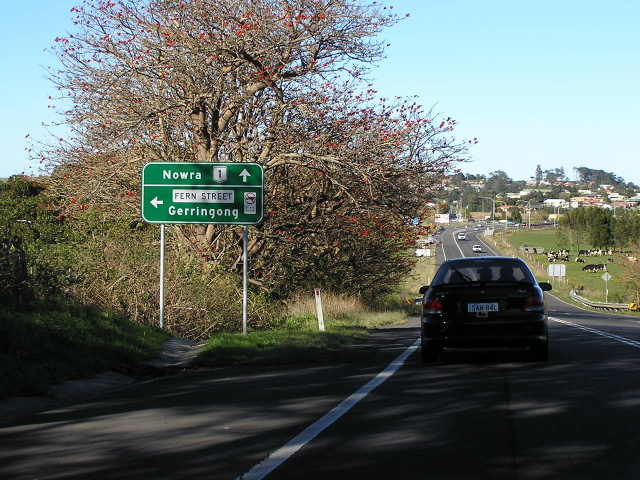 |
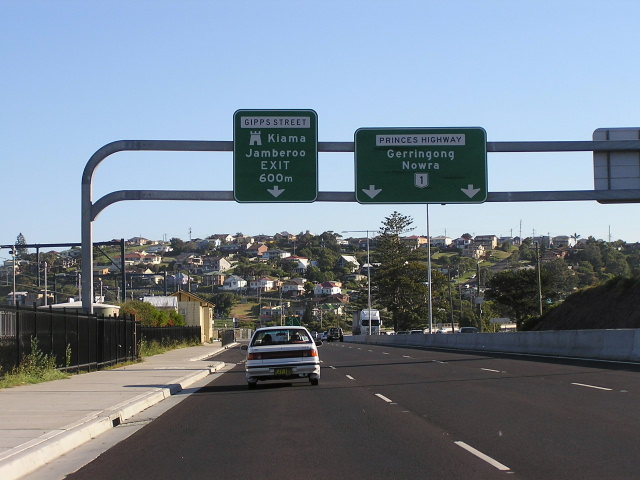
New signage erected Mid-2005 advertising the northern entrance to Gerringong via Fern St (Old Princes Hwy). Jul 2005. |
 |
Looking north along the Gerringong Bypass towards Kiama. You can see the Princes Highway ascending the coastal escarpment en route to Kiama. Feb 2006. |
 |
Heading north from Belinda St (Old Princes Hwy), Gerringong. Feb 2006. |
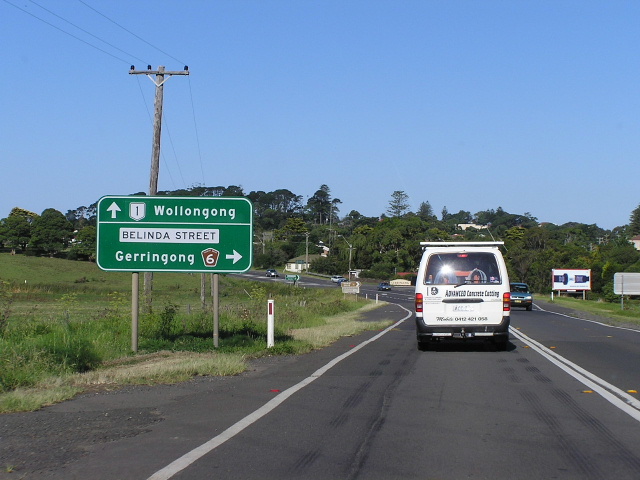 |
AD sign heading east on Princes Hwy approaching Belinda St at Gerringong. Note the NR1 shield is on a coverplated over an alpha-numeric route marker. Feb 2006. |
 |
Heading south from Gerringong. Jul 2005. |
 |
Looking east as the Princes Hwy passes through a gap in the hills, between Toolijooa and Gerringong. Feb 2006. |
 |
Looking north at Toolijooa. Feb 2006. |
 |
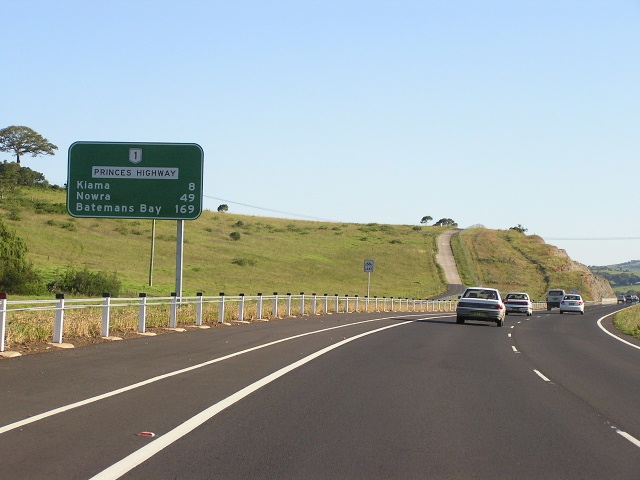
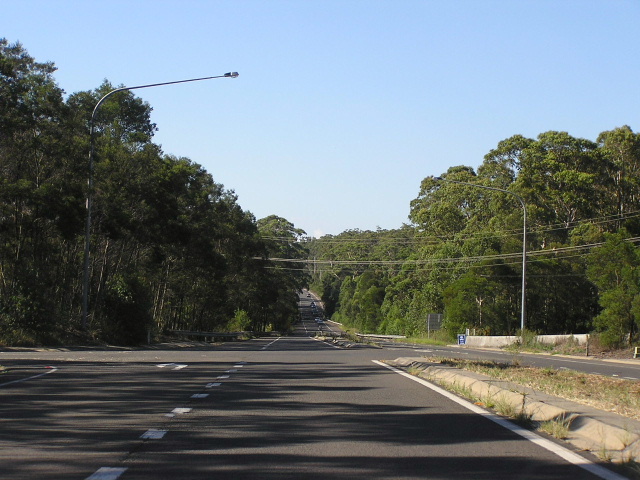
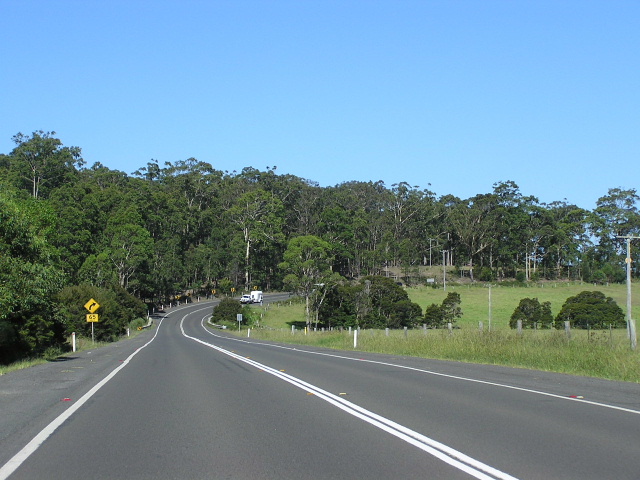
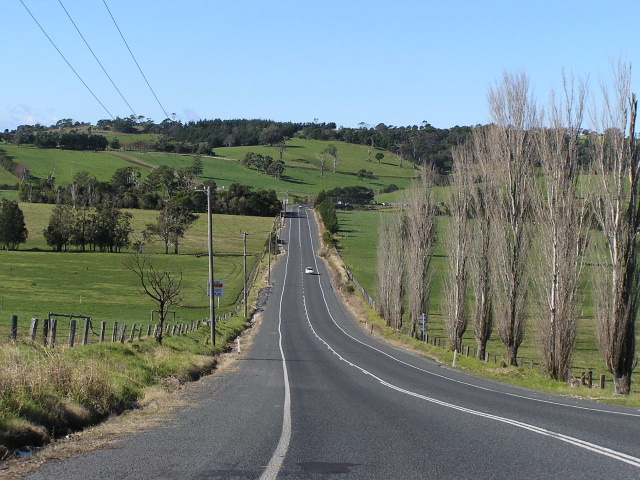
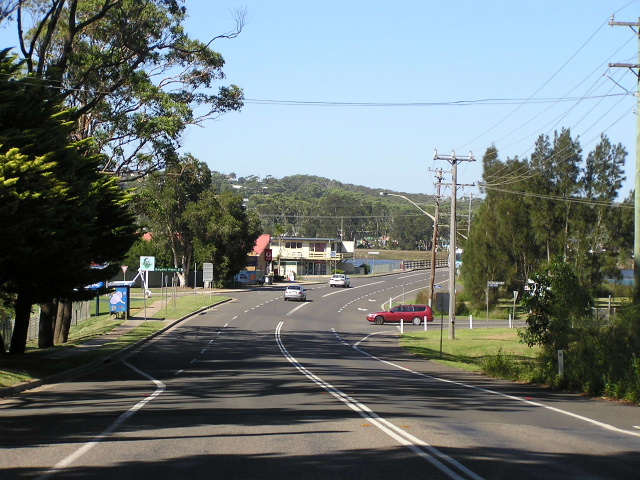
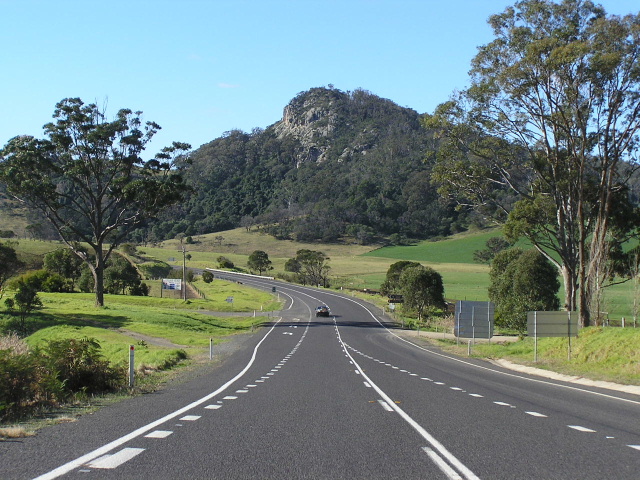
Typical terrain between Gerringong and Berry. Mar 2005. |
 |
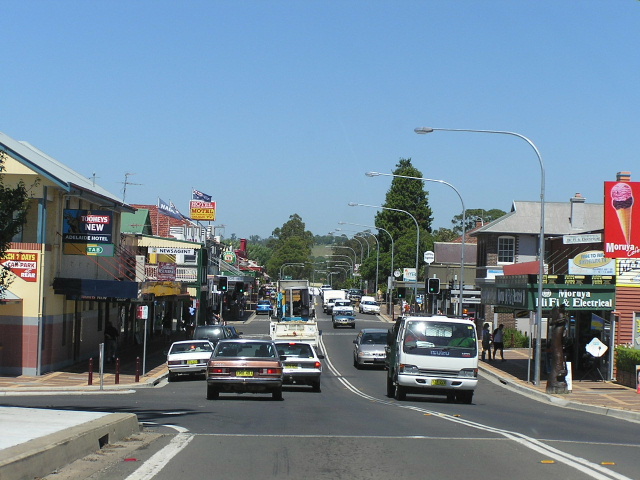
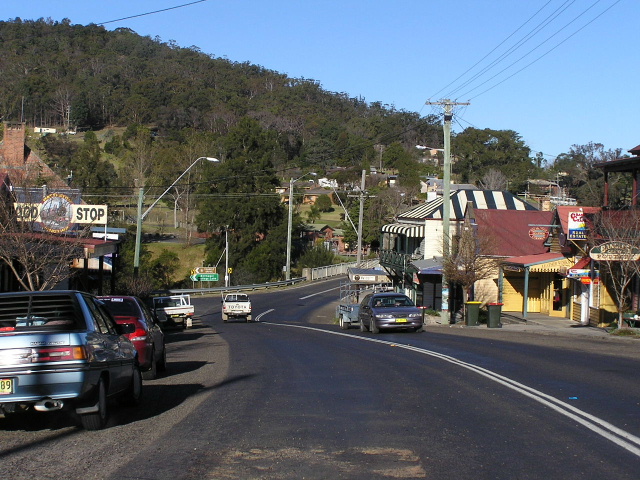
Looking west into Berry. Jul 2005. |
 |
Looking west through Berry. Jul 2005. |
 |
Looking south from Berry. Mar 2005. |
 |
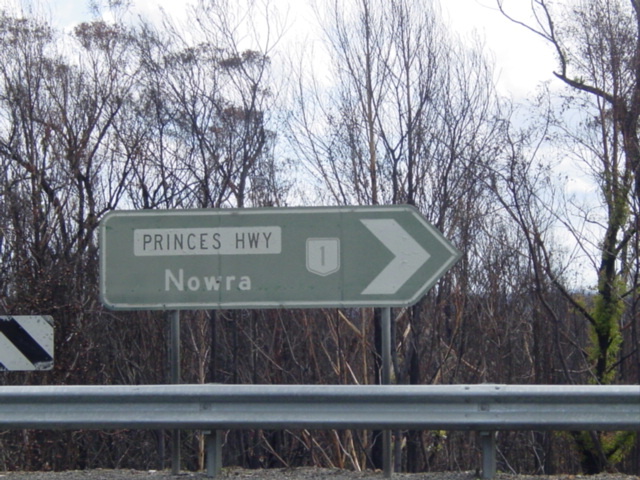
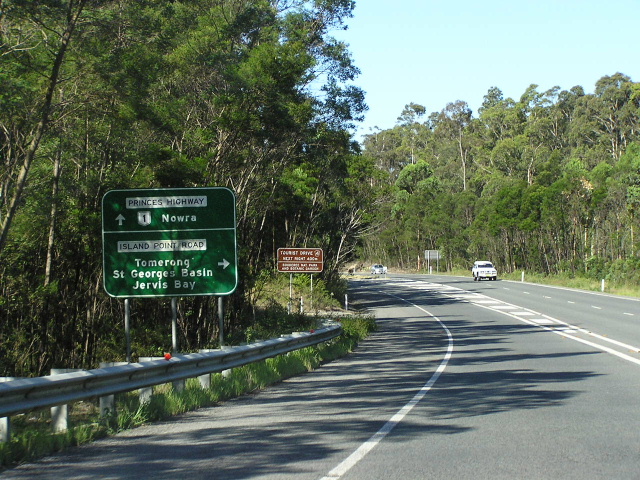
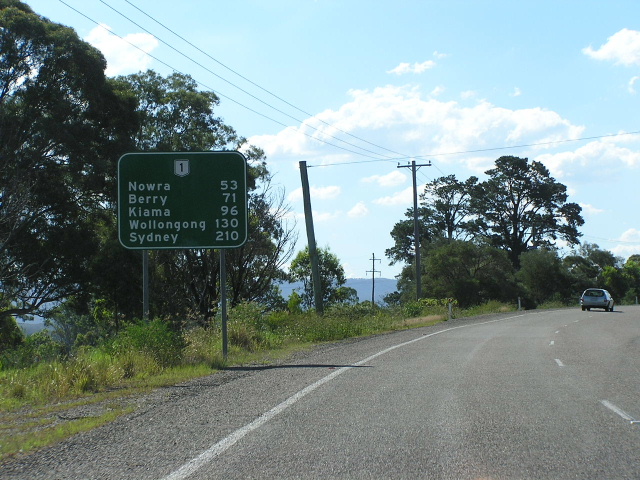
Looking north between Nowra and Berry. Mar 2005. |
 |
Looking north at O'Keefe's Lane between Nowra and Berry. Feb 2006. |
 |
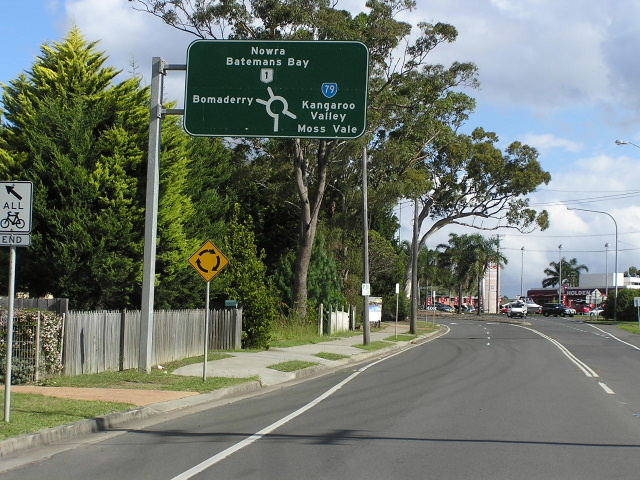
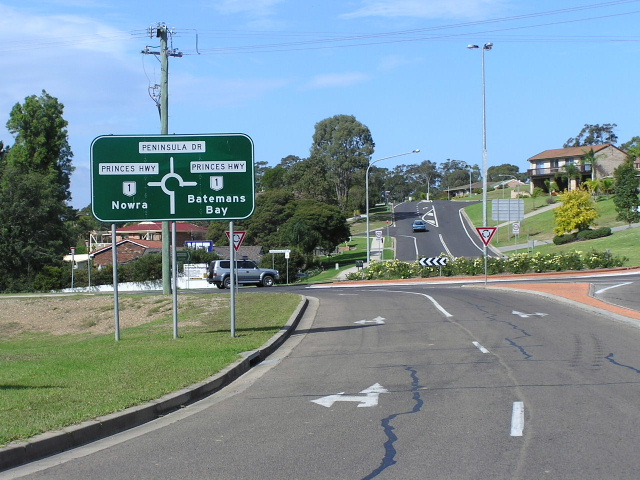
Looking north from SR79 at Bomaderry. Mar 2005. |
 |
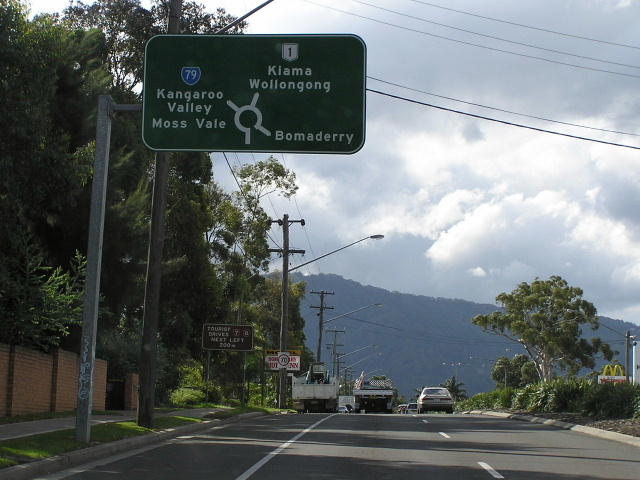
Southbound AD sign approaching the junction with Cambewarra Rd and Moss Vale Rd at Bomaderry. Feb 2006. |
AD sign southeastbound on Moss Vale Rd approaching Princes Hwy at Bomaderry. March 2005. |
|
 |
Northbound AD sign approaching the junction with Cambewarra Rd and Moss Vale Rd at Bomaderry. March 2005. |
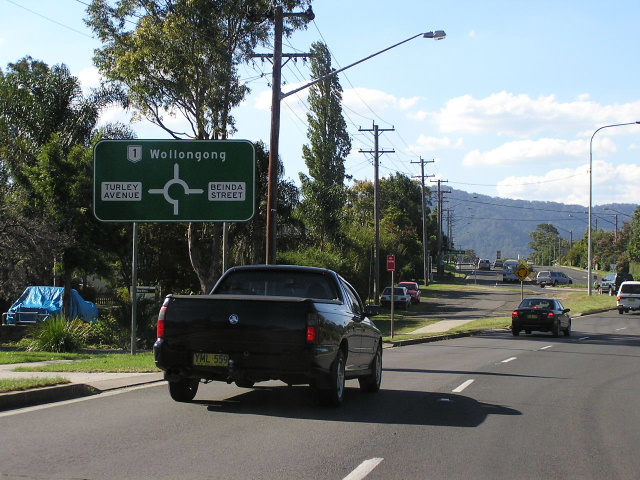 |
Northbound AD sign approaching Turley Ave and Beinda St in Bomaderry. Feb 2006. |
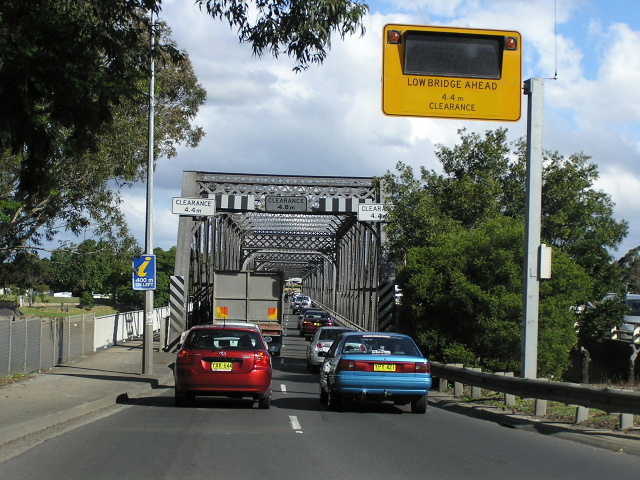 |
The southbound bridge across the Shoalhaven River at Nowra. This bridge was constructed in 1881 and a new 3-lane structure to carry northbound traffic was opened in 1980. Jul 2005. |
 |
Construction of the northbound bridge underway in 1979. (DMR) |
 |
Lane allocation AD sign northbound approaching the bridge over the Shoalhaven River at Nowra. Feb 2006. |
 |
Looking north along Princes Hwy to the Jane St overpass outside Nowra Fair. Feb 2006. |
 |
Northbound AD sign on Princes Hwy approaching Worrigee St in Nowra. Note that "Town Centre" now covers "Shopping Centre". Feb 2006. |
 |
Looking south through Nowra at Plunkett St. Apr 2005. |
 |
Looking north along the Hollands Rd section of the Princes Highway in Nowra. Feb 2006. |
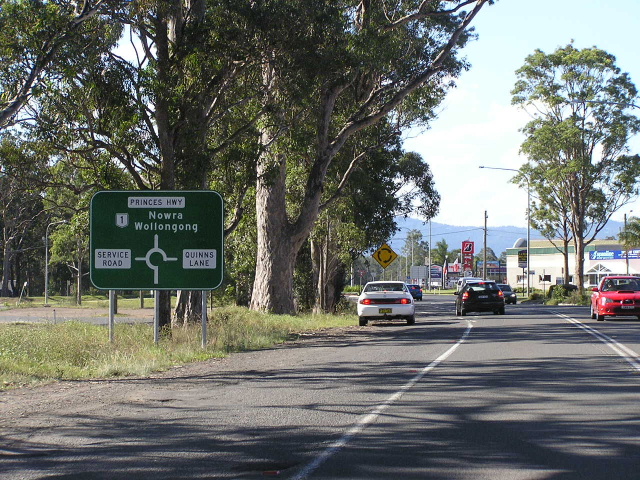 |
Well-designed standard roundabout diagrammatic AD sign northbound approaching Quinns Lane in South Nowra. Feb 2006. |
 |
Extremely dodgy non-standard roundabout AD sign northbound on the southern approach to Nowra. Note the missing NR1 shield. Feb 2006. |
 |
Black 'N10" kilometre plate northbound between Comberton Grange Rd and Forest Rd. Feb 2006. |
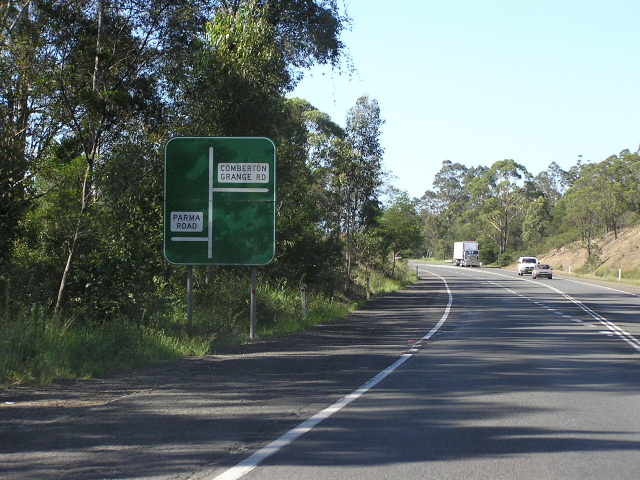 |
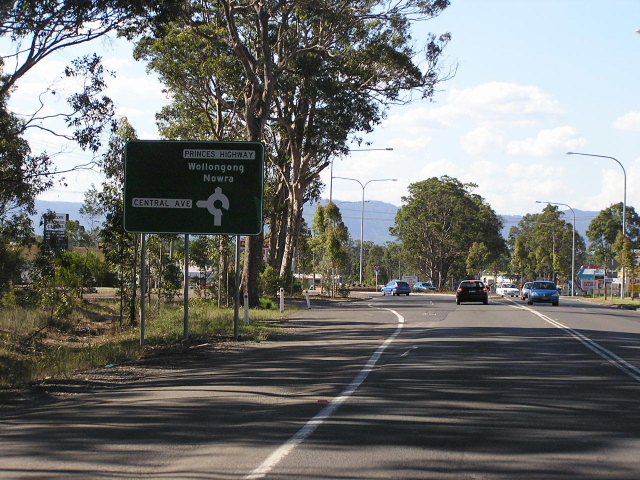
Looking north to the staggered T-junctions with Parma Rd & Comberton Grange Rd. Feb 2006. |
 |
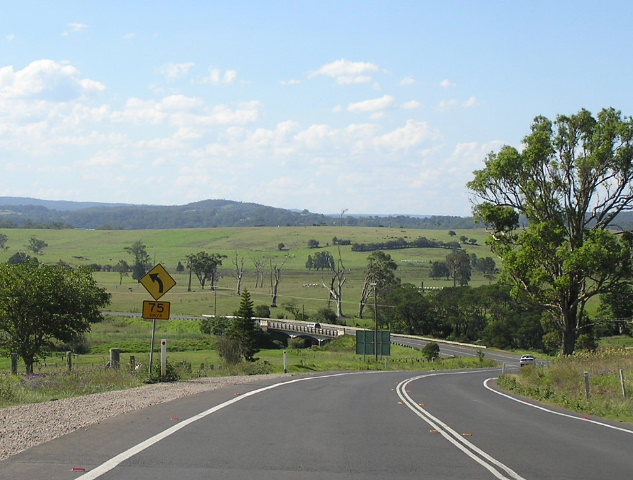
Looking south across Currumbene Creek on a deviation constructed in 1975. Apr 2005. |
 |
Looking north from Jervis Bay Rd at Falls Creek. Apr 2005. |
 |
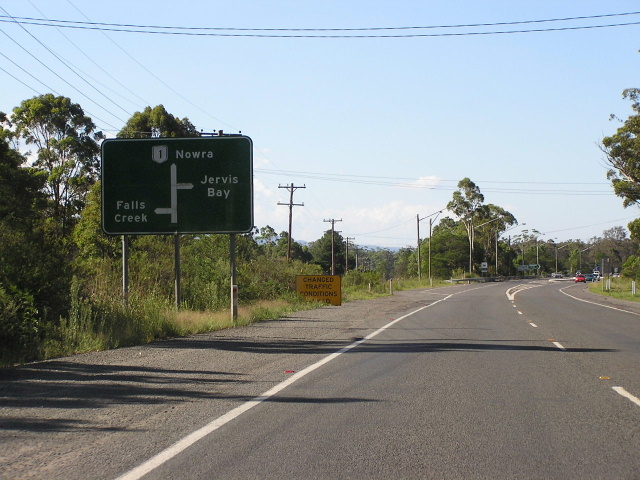
Looking north at the junction with Jervis Bay Rd. Feb 2006. |
 |
Northbound AD sign approaching a stageered T-junction at Falls Creek. Feb 2006. |
 |
Bushfire-damaged sign at Turpentine Rd near Tomerong. Photo taken by Jon Wilcox in 2002. |
 |
Looking north on the Tomerong Deviation. At this point the old highway alignment crosses the deviation. Feb 2006. |
 |
Looking north approaching Island Point Rd on the Tomerong Deviation. Feb 2006. |
 |
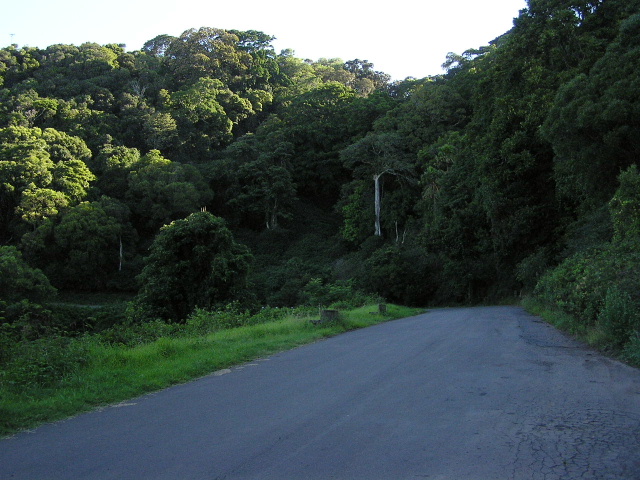
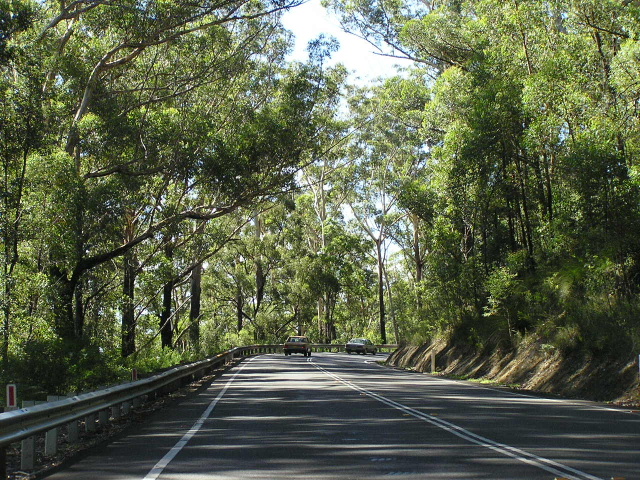
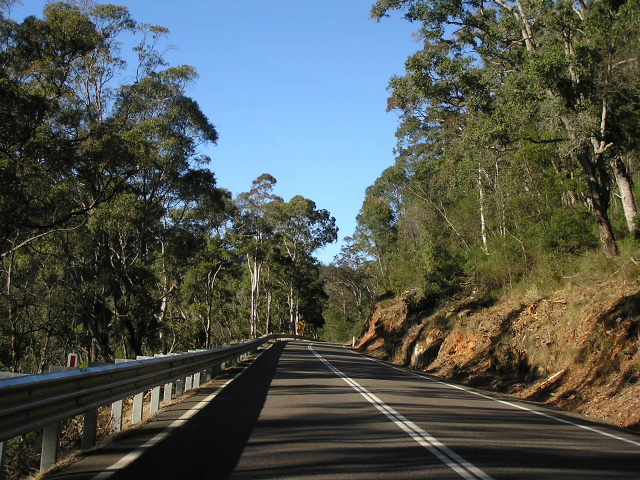
Looking north through a heavily-forested section of the highway just south of the Tomerong Deviation. Feb 2006. |
 |
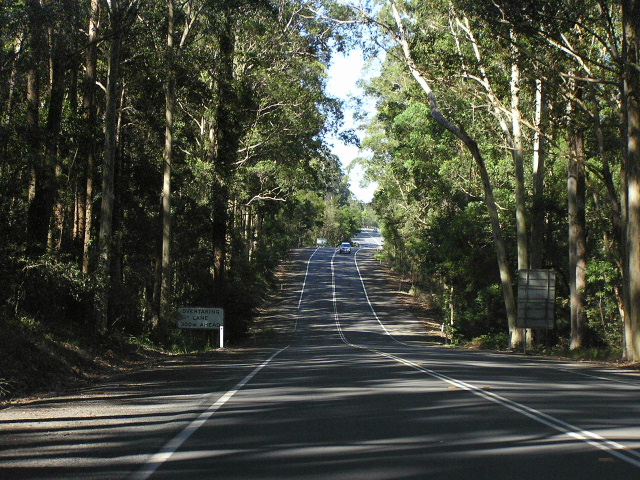
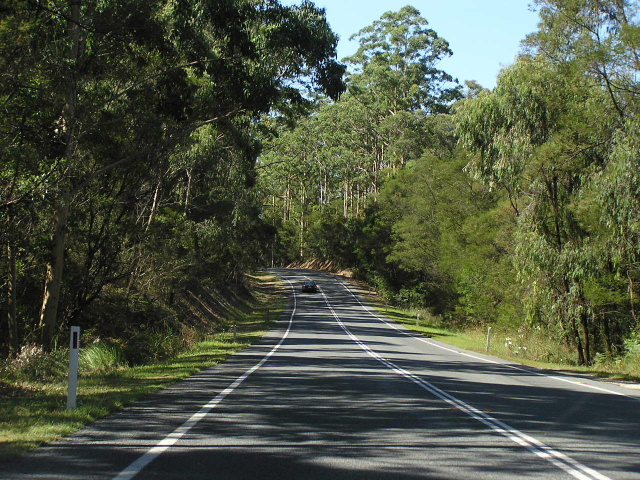
Freshly resealed, winding section on a poor alignment between Tomerong and Bewong. Jul 2005. |
 |
Looking north near Bewong. Feb 2006. |
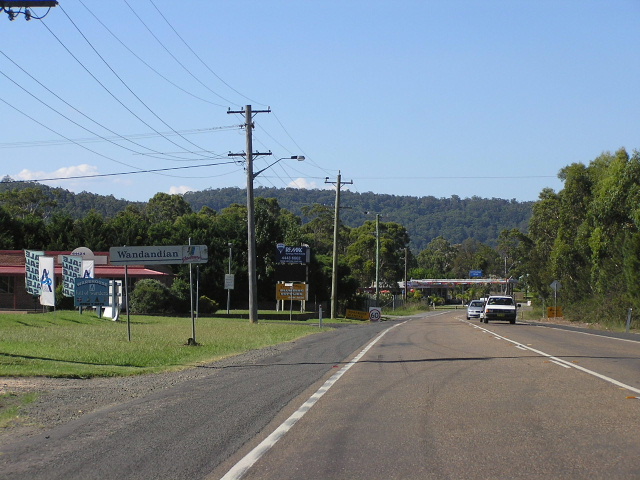 |
Looking north into Wandandian. Feb 2006. |
 |
Awfully designed services sign for Bendalong Road, probably replacing a better-designed sign that was destroyed in the 2002 bushfires. Feb 2006. |
 |
Awfully designed sign that replaced a similar one damaged by bushfires in 2002, heading south from Bendalong Rd. Jul 2005. |
 |
Looking north through a narrow and winding section between Conjola and Bendalong Rd. Feb 2006. |
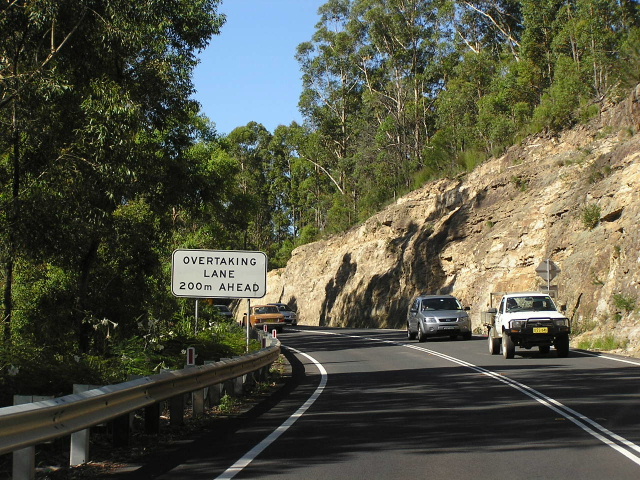 |
Another view of the narrow and winding section between Conjola and Bendalong Rd. Feb 2006. |
 |
Looking north to Bunnair Creek, near Fishermans Paradise. Feb 2006. |
 |
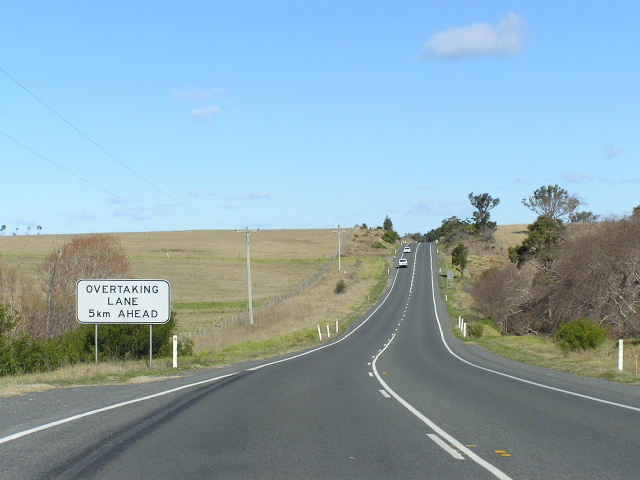
Distance sign heading north from Lake Conjola Entrance Rd at Yatte Yattah. Feb 2006. |
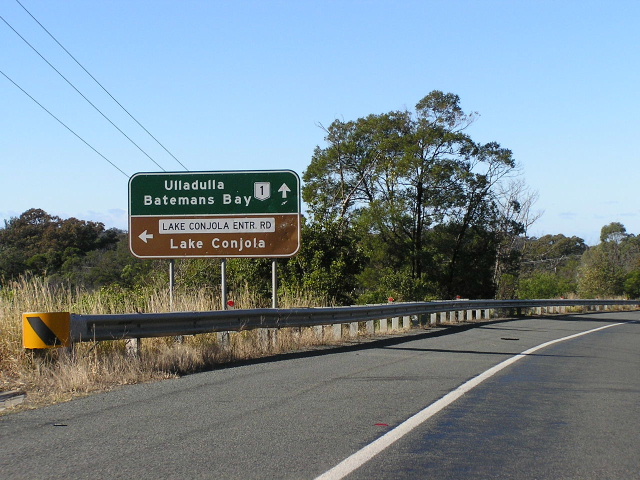 |
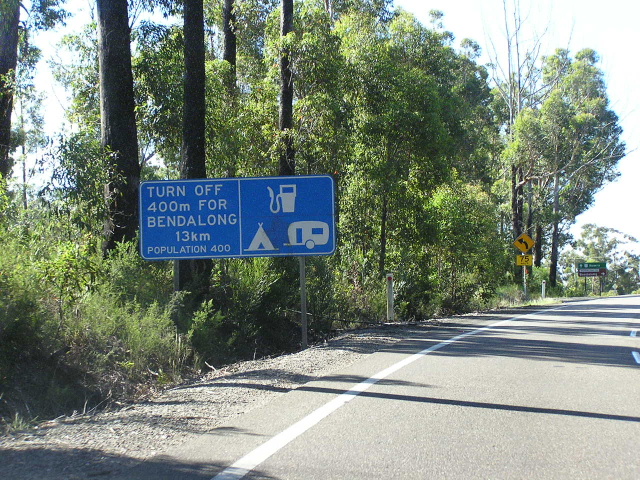
Perfectly proportioned AD sign at the turnoff to Lake Conjola. Jul 2005. |
 |
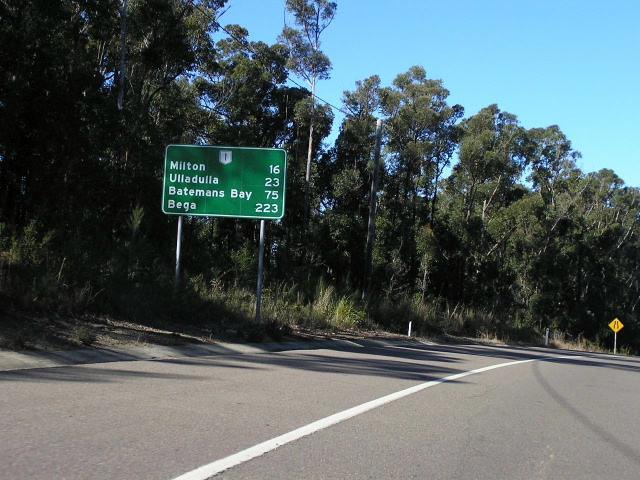
Looking south to Croobyar Creek, north of Milton. Jul 2005. |
 |
Looking north to Croobyar Creek. Feb 2006. |
 |
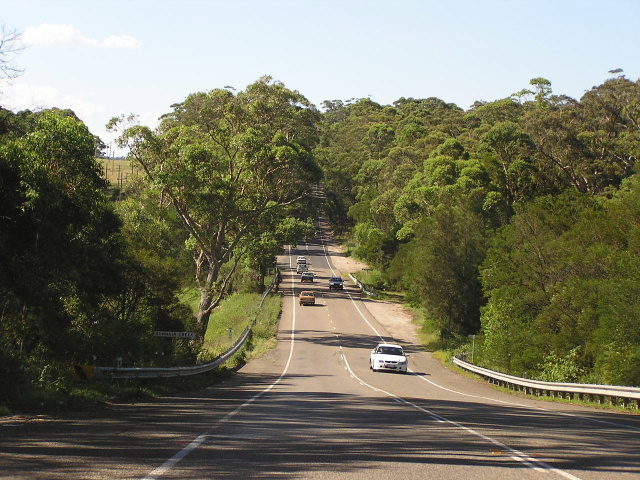
Looking north through a narrow and winding section on the northern approach to Milton. Feb 2006. |
 |
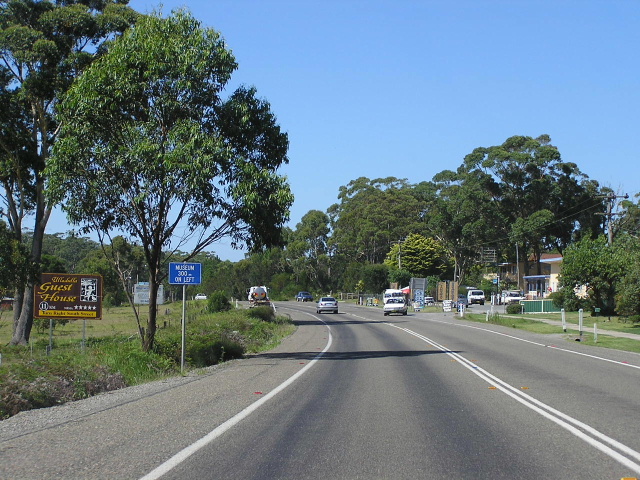
Looking south through Milton. Jul 2005. |
 |
Fingerboard signage at the intersection of Princes Hwy and Golf St in Ulladulla. Note the NR1 shield on a coverplate, presumably over an incorrect SR or NH shield. Feb 2006. |
 |
Looking south through Ulladulla. Jul 2005. |
 |
Looking north through Ulladulla town centre. Feb 2006. |
 |
Looking north on the southern outskirts of Ulladulla, showing heavy afternoon traffic. Feb 2006. |
 |
Looking north through Burrill Lake. Feb 2006. |
 |
AD sign with NR1 on a coverplate over an alpha-numeric route marker, northbound on the southern outskirts of Burrill Lake. Feb 2006. |
 |
Looking north through the tiny holiday village of Tabourie Lake. Feb 2006. |
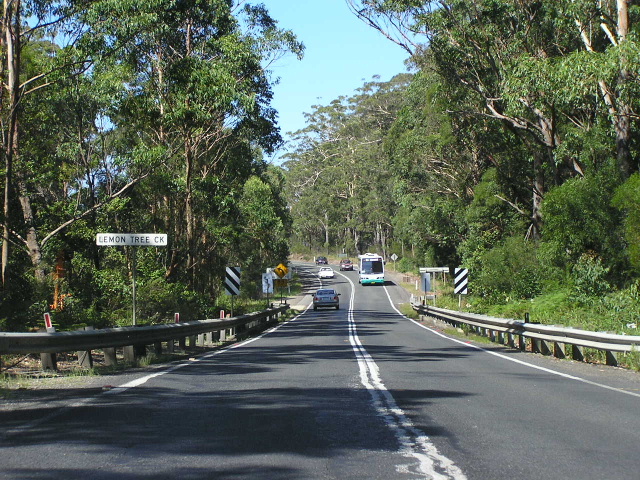 |
Looking north across the narrow bridge over Lemon Tree Creek, south of Tabourie Lake. Feb 2006. |
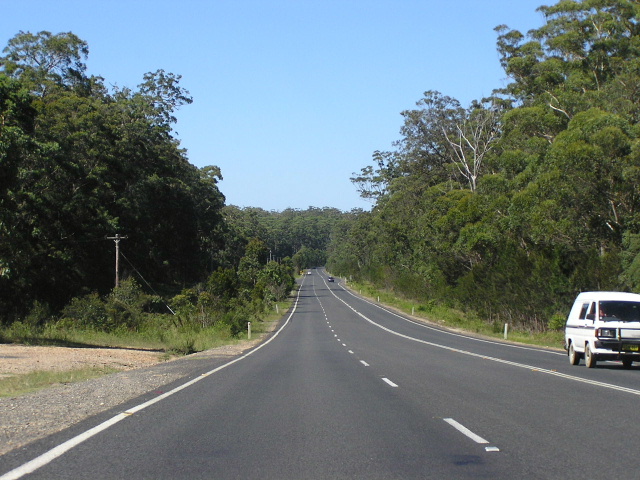 |
Looking north between Tabourie Lake and Termeil Creek. Feb 2006. |
 |
One of many narrow bridges on the highway, this one crosses Termeil Creek, north of Termeil. April 2005. |
 |
Typical NSW fingerboard signage at the intersection with Old Princes Hwy in Termeil. Jul 2005. |
 |
Looking north to Bawley Point Rd at Termeil. Feb 2006. |
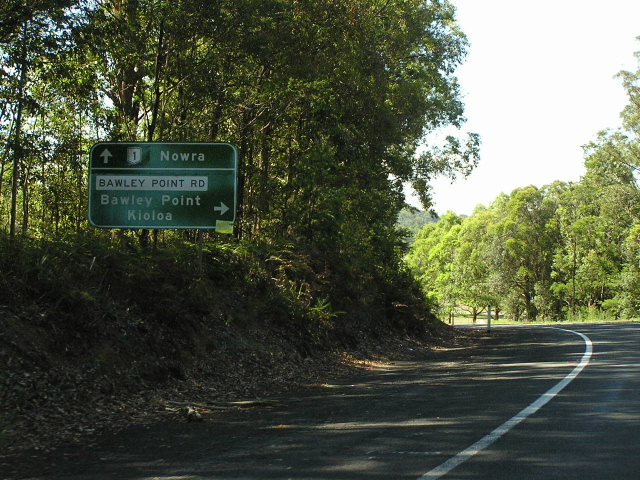 |
Northbound AD sign with NR1 shield on a coverplate over an alpha-numeric shield at Bawly Point Rd, Termeil. Feb 2006. |
 |
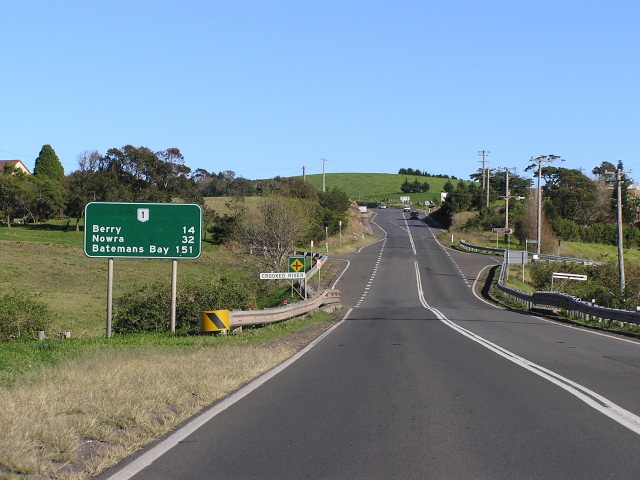
Distance sign heading south from Termeil. April 2005. |
 |
Looking north through a cleared section of the Cockwhy Range deviation, approaching Higgins Creek. Feb 2006. |
 |
Looking north along a winding section of the Cockwhy Range deviation, constructed between 1931 and 1939. Feb 2006. |
 |
Looking north through dense forest between Benandarah and East Lynne. Feb 2006. |
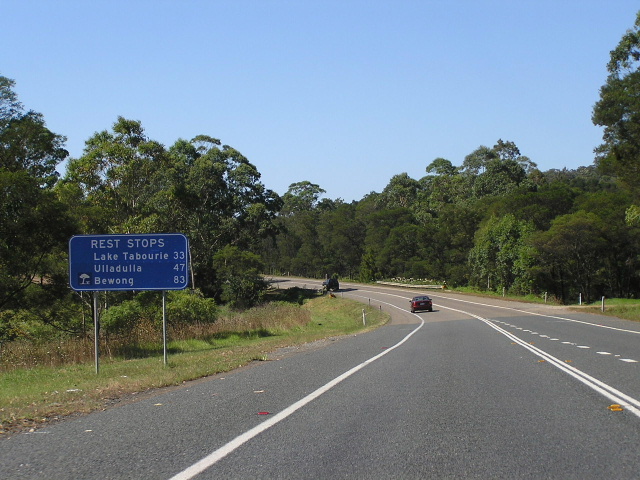 |
Rest Area distance sign heading north from the rest area at Benandarah. Feb 2006. |
 |
Looking south approaching the Surfside turnoff. Jul 2005. |
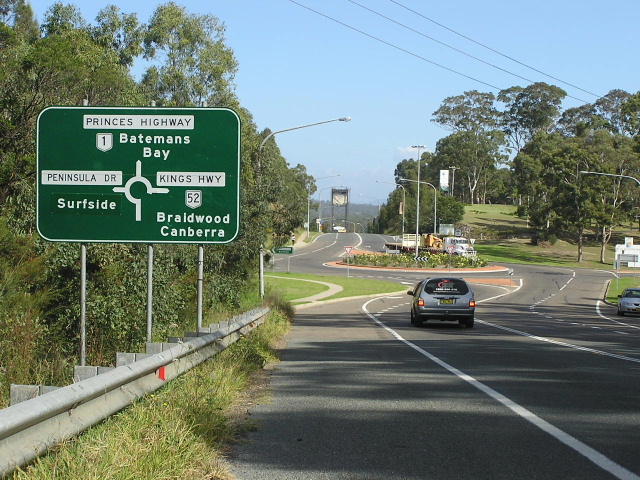 |
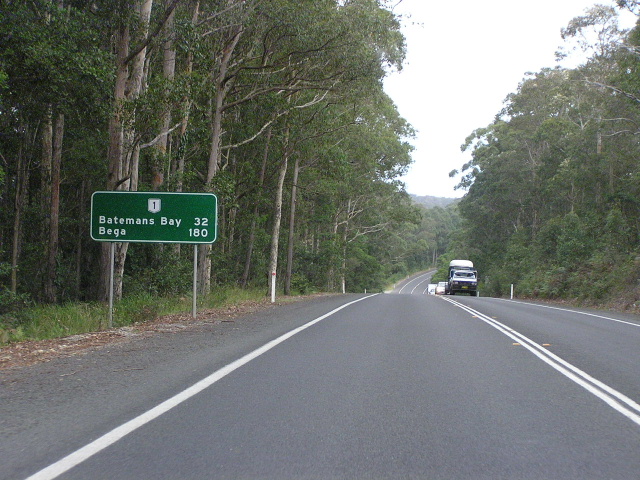
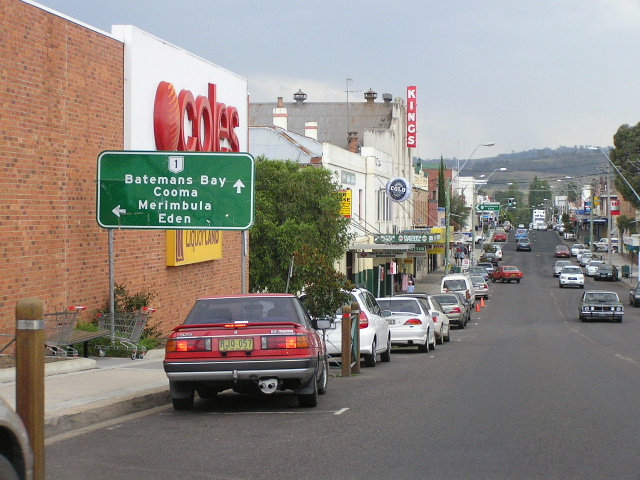
Looking south at the Kings Highway junction, north of Batemans Bay. Apr 2005. |
 |
Looking north from the Kings Hwy at Batemans Bay. Apr 2005. |
 |
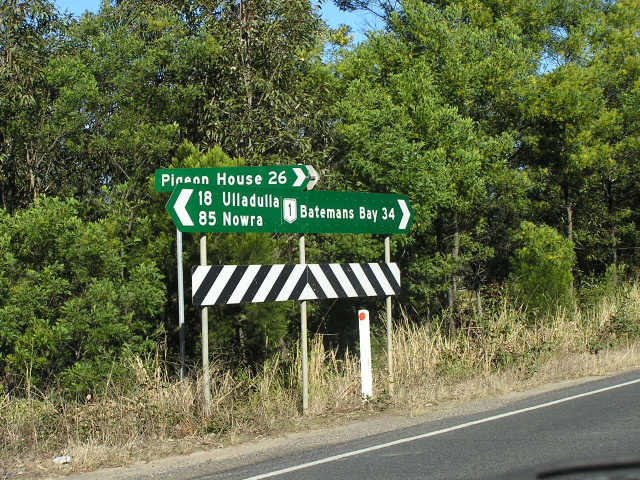
Eastbound AD sign on Kings Highway approaching Princes Hwy. Apr 2005. |
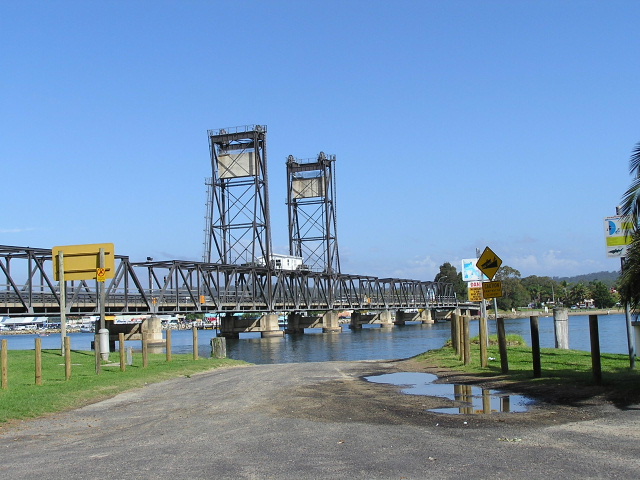 |
The bridge over the Clyde River at Batemans Bay with its bascule lift span. Jul 2005. |
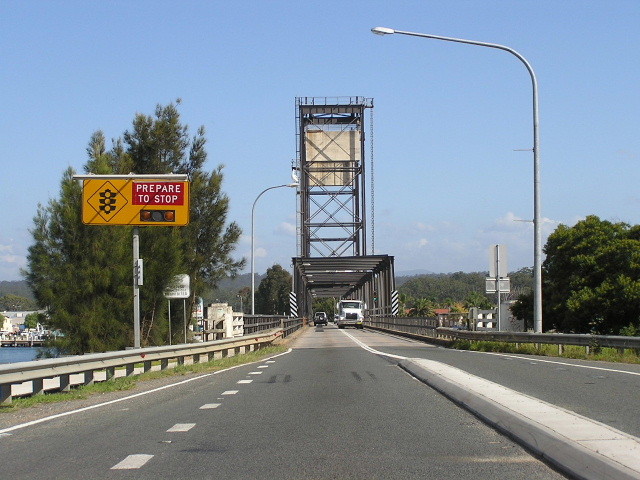 |
Opening Bridge signage southbound, although I don't believe the bridge has opened for several years. Jul 2005. |
 |
Southbound approaching Beach Rd in Batemans Bay. Feb 2006. |
 |
Looking north through Batemans Bay on the Vesper Street deviation. Feb 2006. |
 |
Looking north along the two-lane section of the Vesper St Deviation in Batemans Bay. Feb 2006. |
 |
Distance heading south from Batemans Bay. Jul 2005. |
 |
Looking north on a very curvy and undulating 80km/h zone on the southern outskirts of Batemans Bay. Feb 2006. |
 |
Looking north through Mogo. Feb 2006. |
 |
Newly reconstructed section between Mogo and Moruya. Jul 2005. |
 |
Looking south near Tomakin showing the clearly definaed boundary of the road reserve and the state forest. Jul 2005. |
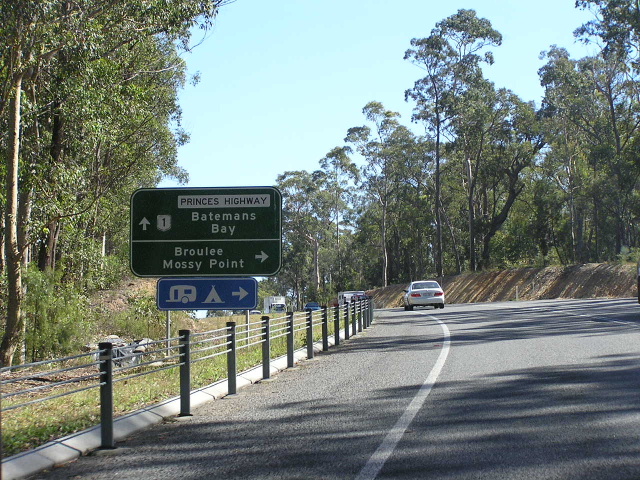 |
Northbound AD sign for the turnoff to Broulee and Mossy Point, 4km south of Tomakin. Feb 2006. |
 |
Heading north from Moruya on the Moruya River flood plain. Apr 2005. |
 |
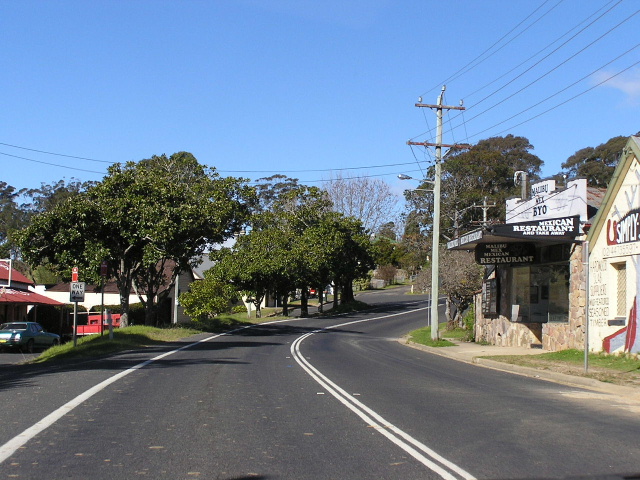
Moruya town centre. Jul 2005. |
 |
Another view of the traffic congestion in Moruya town centre. Feb 2006. |
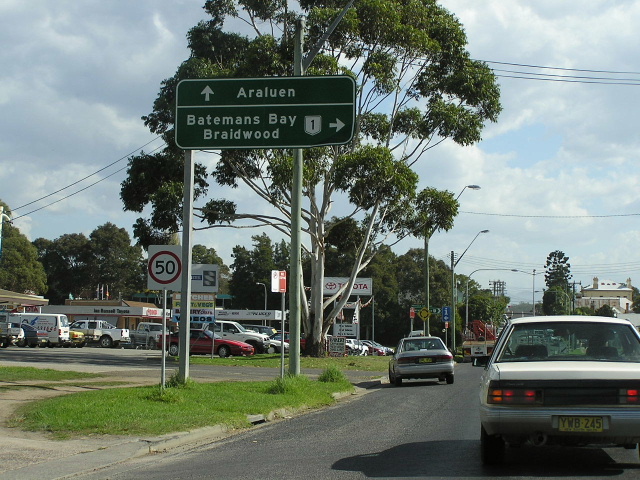 |
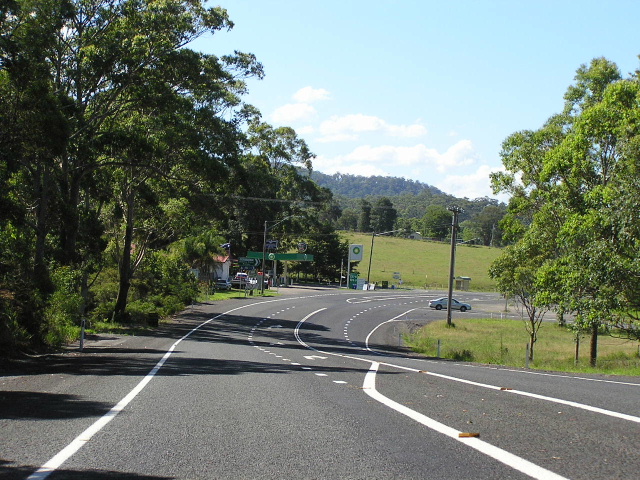
Westbound in Moruya township at the turnoff to Araluen. Apr 2005. |
 |
Heading south from Moruya. Apr 2005. |
 |
Looking south from Mountain View Rd, between Moruya and Bergalia. Jul 2005. |
 |
Looking south near Colia Creek. Jul 2005. |
 |
Distance sign missing a NR1 shield heading north from Turlinjah. Feb 2006. |
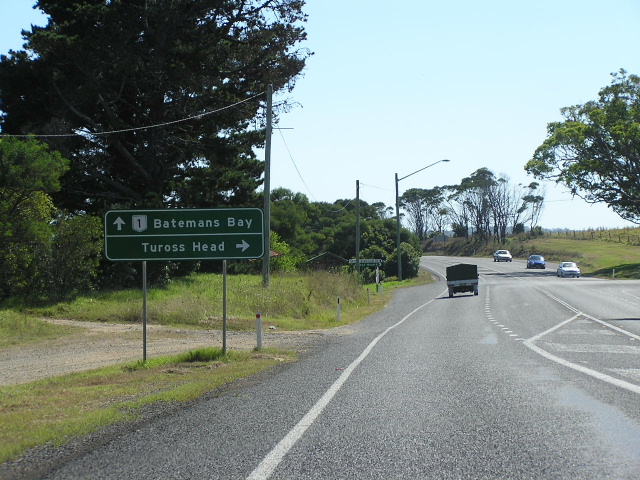 |
Northbound AD sign for the Tuross Head turnoff (Hector McWilliam Dr) at Turlinjah. Feb 2006. |
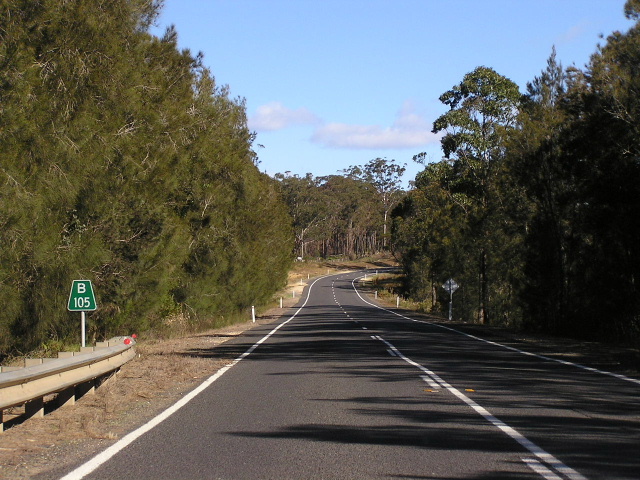 |
"B105" kilometre plate southbound at Smarts Creek, between Turlinjah and the Tuross River. Jul 2005. |
 |
Looking north across the Tuross River bridge, built in 1956. Feb 2006. |
 |
Narrow section of highway with 1940s chain wire fencing just south of the Tuross River. Jul 2005. |
 |
The township of Bodalla. Jul 2005. |
 |
Recently upgraded section with an overtaking, looking north towards Bodalla. Feb 2006. |
 |
Looking north through a heavily forested section on the southern approach ot Bodalla. Note the clear delineation of the road reserve compared to the forested land. Feb 2006. |
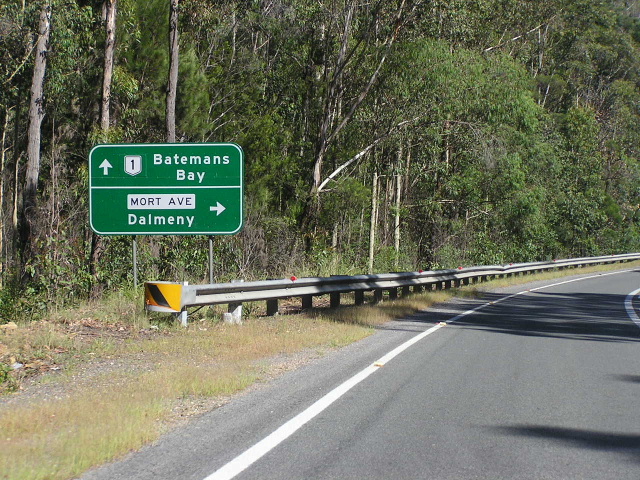 |
Alpha-numeric shield covered by a NR1 coverplate on an AD sign, northbound approaching Mort Ave, 7km north of Narooma. Feb 2006. |
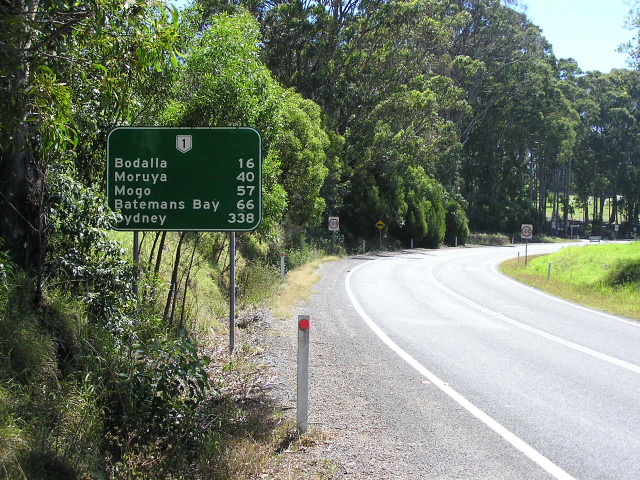 |
Distance sign heading north from Narooma. Feb 2006. |
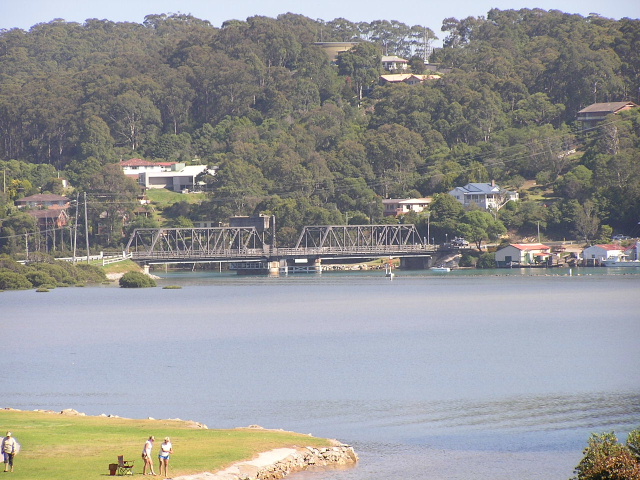 |
Narooma Bridge, a steel structure with a rare bascule lift span, that carries Princes Highway over Wagonga Inlet at Narooma. Feb 2006. |
 |
Looking north through Narooma town centre. Feb 2006. |
 |
Mid-1990s distance sign heading south from Narooma. Feb 2006. |
 |
Looking north to the bridge across Corunna Lake. Feb 2006. |
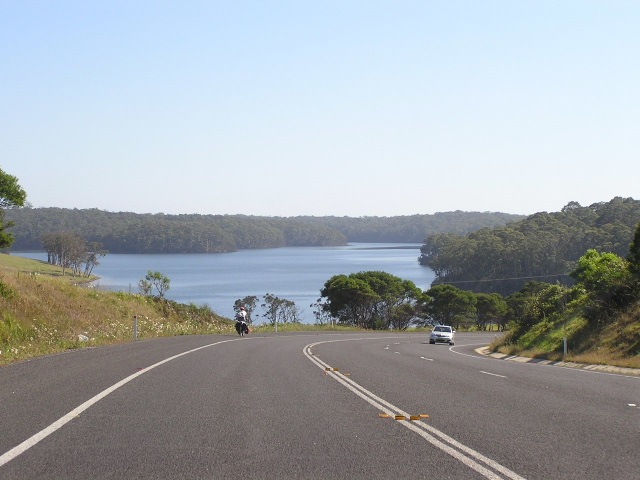 |
Very picturesque scene, looking north alongside Corunna Lake, 9km south of Narooma. Feb 2006. |
 |
Fingerboard signage at the Mystery Bay turnoff, 10km south of Narooma. Feb 2006. |
 |
Diagrammatic 'bypassed town' AD sign preparing motorists for the Tilba Bypass, south of Narooma. Jul 2005. |
 |
Looking northeast on the Tilba Bypass. Jul 2005. |
 |
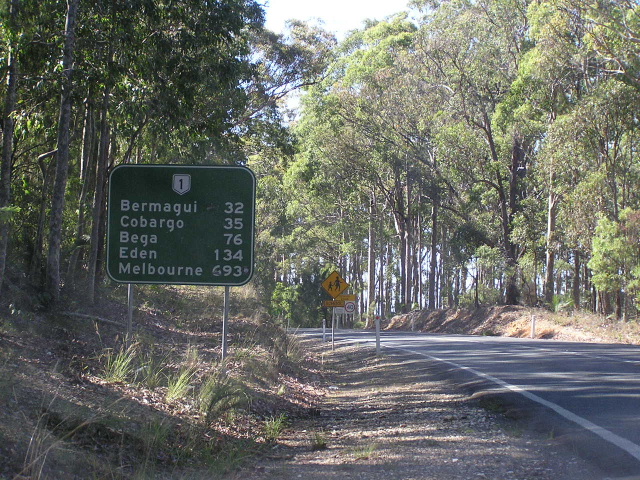
Late, late afternoon view of the Princes Highway heading west from the Bermagui turnoff. Apr 2005. |
 |
Looking south through Cobargo. Jul 2005. |
 |
Right angle curve at the Brogo River crossing. Jul 2005. |
 |
Looking south through the Brogo Pass, constructed in the 40s. Jul 2005. |
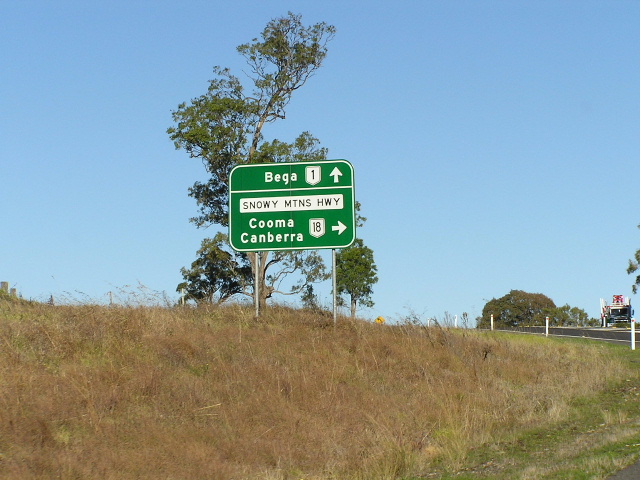 |
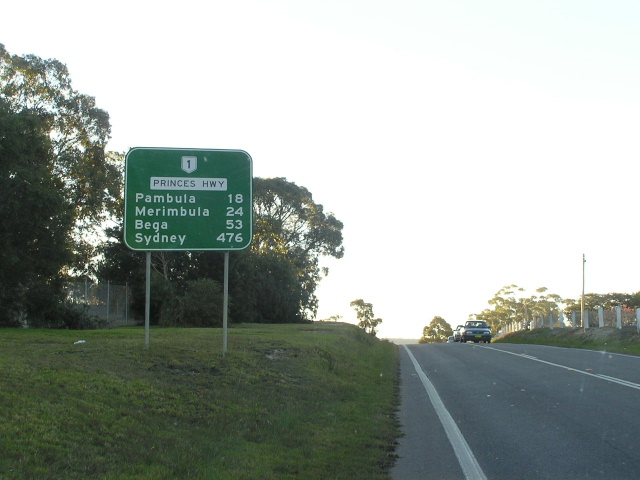
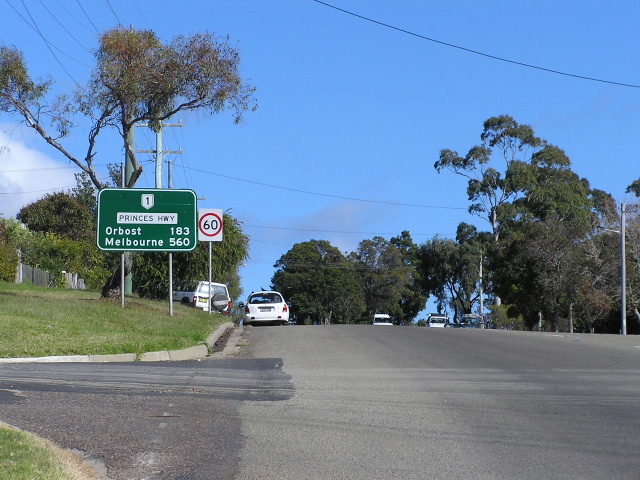
Poorly located sign advertising the beginning of the Snowy Mtns Hwy, north of Bega. Apr 2005. |
 |
Distance sign heading north from the Snowy Mtns Hwy junction. Apr 2005. |
 |
AD sign eastbound on Snowy Mountains Highway approaching Princes Highway, north of Bega. Feb 2006. |
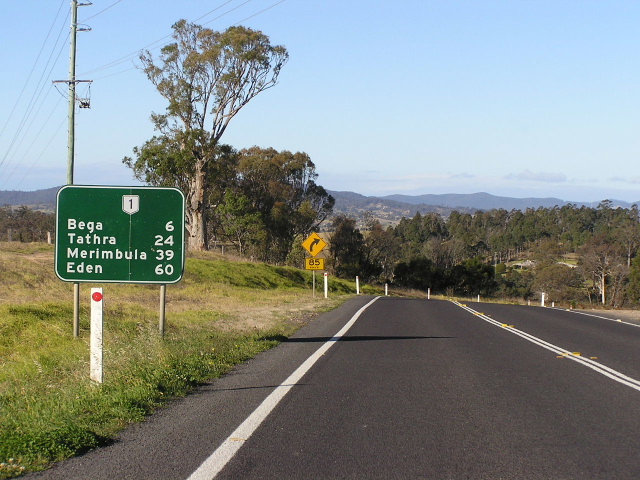 |
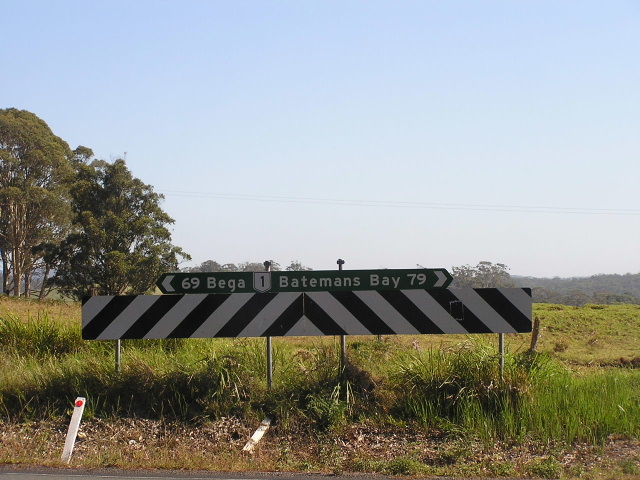
Distance sign heading south from the Snowy Mtns Hwy junction. Jul 2005. |
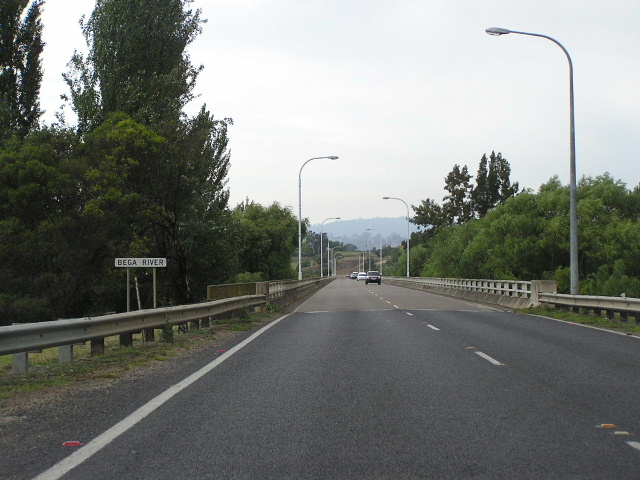 |
Looking south across the Bega River. Feb 2006. |
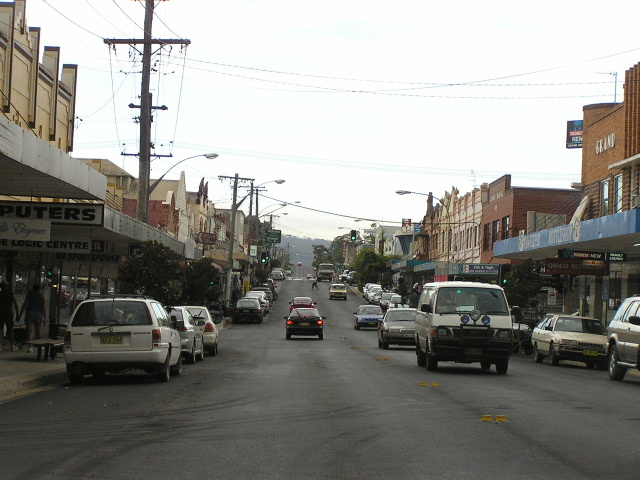 |
Looking east along Princes Hwy (Carp St) through Bega town centre. Feb 2006. |
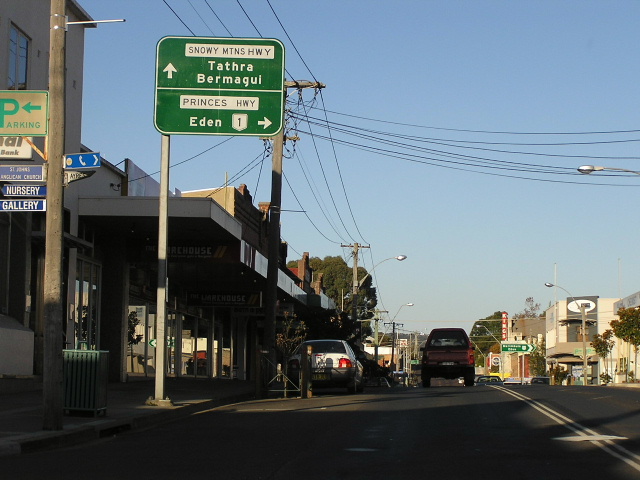 |
AD sign in Bega's main street, incorrectly showing the Snowy Mtns Hwy to Tathra. The SMH was decommissioned east of Bega in 1996. Apr 2005. |
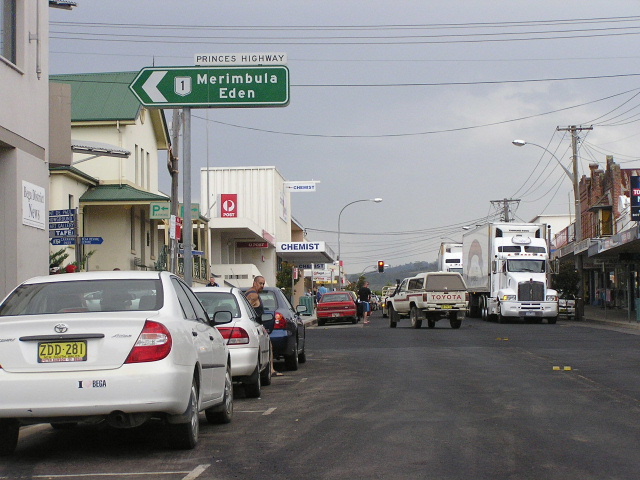 |
ID sign showing the Princes Highway turn in Bega, eastbound on Carp St (old Snowy Mtns Hwy). Feb 2006. |
 |
Eastbound on Carp St (old Snowy Mtns Hwy) approaching Princes Highway in Bega. Feb 2006. |
 |
Looking north along Princes Highway (Gipps St) approaching Carp St (old Snowy Mtns Hwy) in Bega. Feb 2006. |
 |
Heading south through Bega. Feb 2006. |
 |
Unusually design AD sign at the Candelo road turnoff, south of Bega. Jul 2005. |
 |
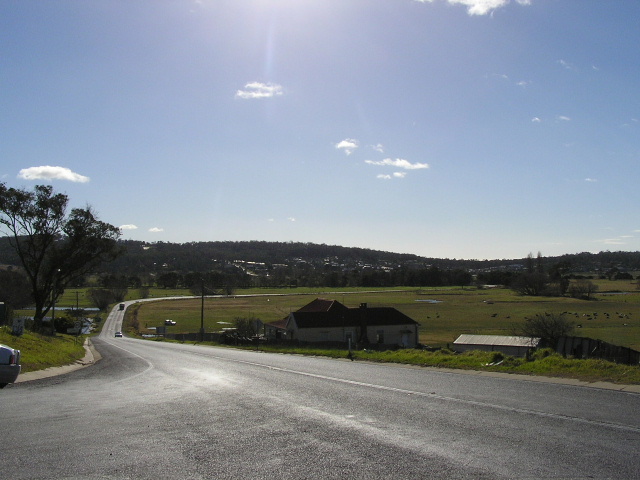
Heading south from Wolumla. Jul 2005. |
 |
The newly constructed Wolumla-Yellow Pinch realignment, completed in the late 1990s. Jul 2005. |
 |
Bypassed town diagrammtic heading south just before the Merimbula Bypass. Jul 2005. |
 |
Looking south on the Merimbula Bypass. Jul 2005. |
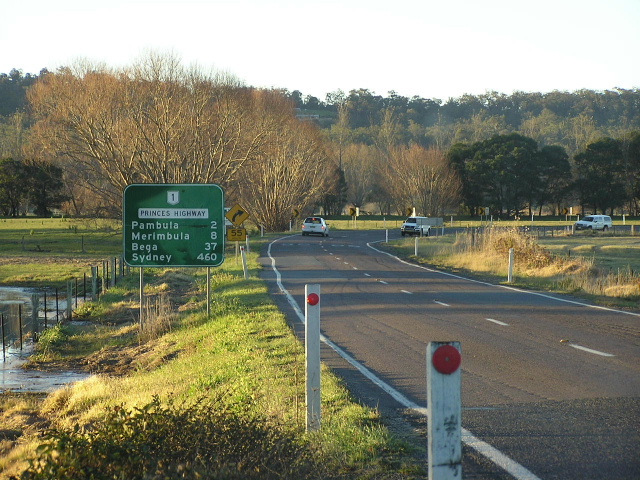 |
Looking north from South Pambula. Jul 2005. |
 |
Looking north across the Chalkhills Creek flood plain to Pambula. Jul 2005. |
 |
Looking north on the outskirts of Eden. Jul 2005. |
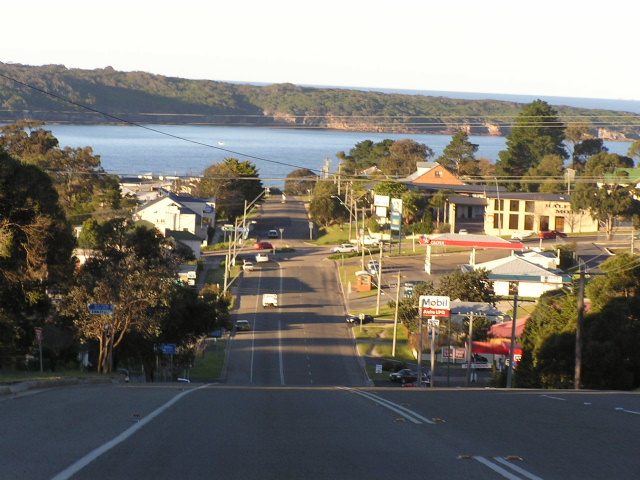 |
Looking east into Eden from Orbost. Thanks to Sophie Cotterill for this photo, taken in Jul 2005. |
 |
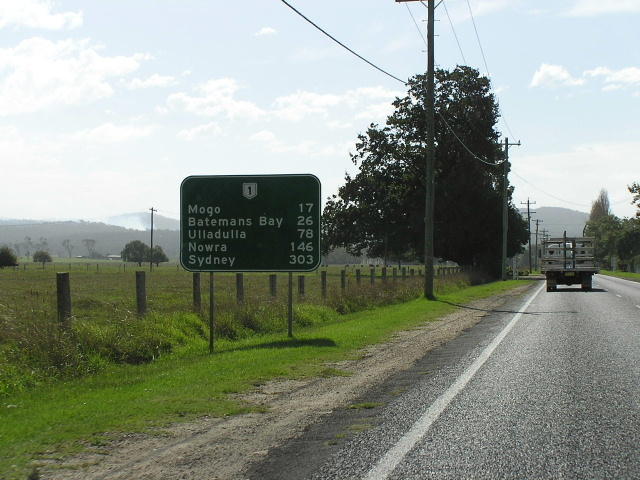
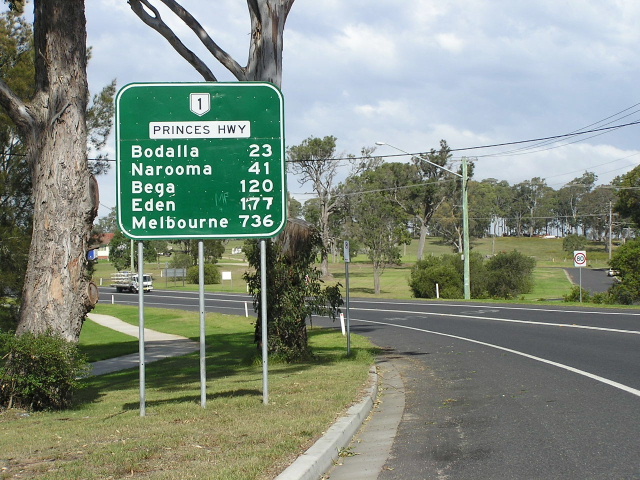
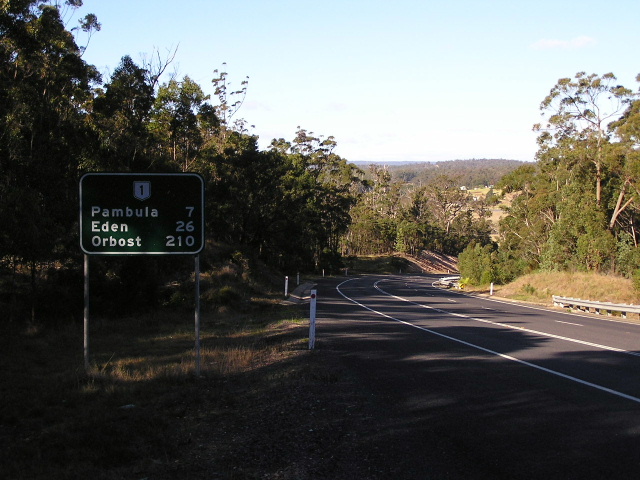
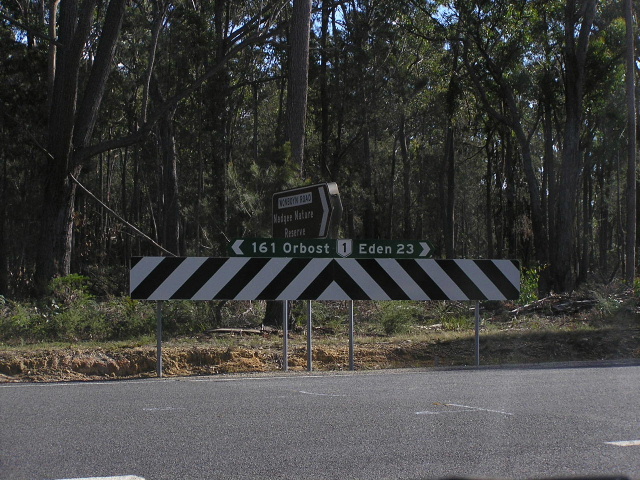
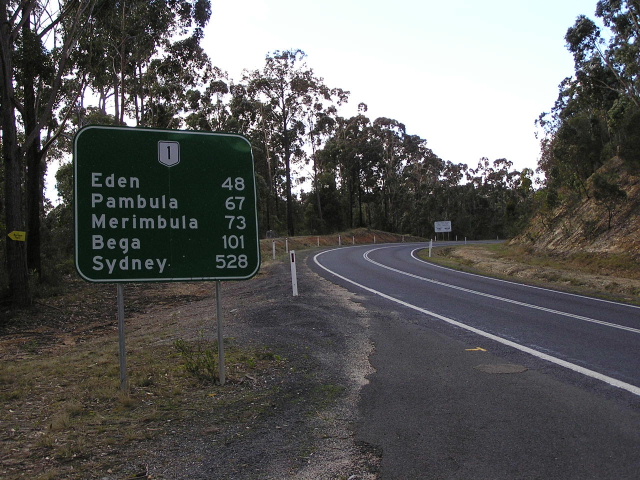
Distance sign heading south from Eden. Jul 2005. |
 |
Fingerboard signage at the Womboyn Lake turnoff, south of Kiah. Jul 2005. |
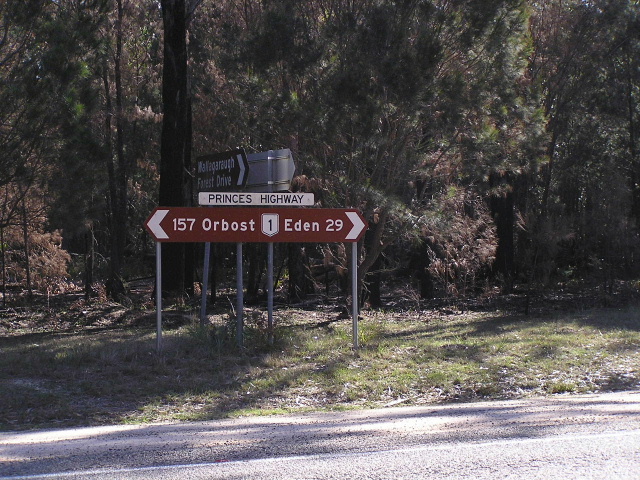 |
Unusually fat and brown fingerboard sign at the Wallagraugh Forest Drive. Jul 2005. |
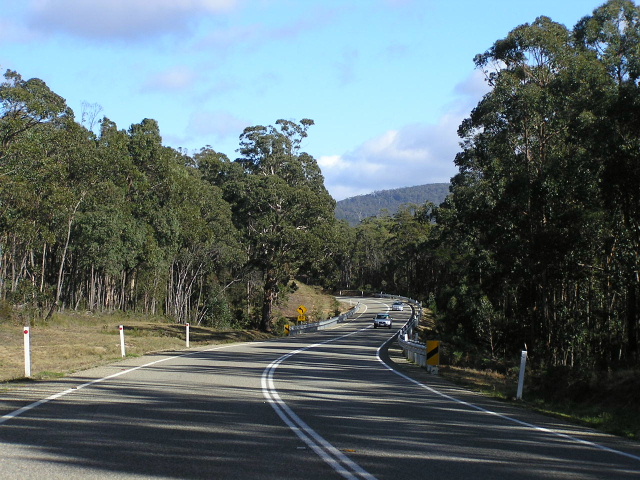 |
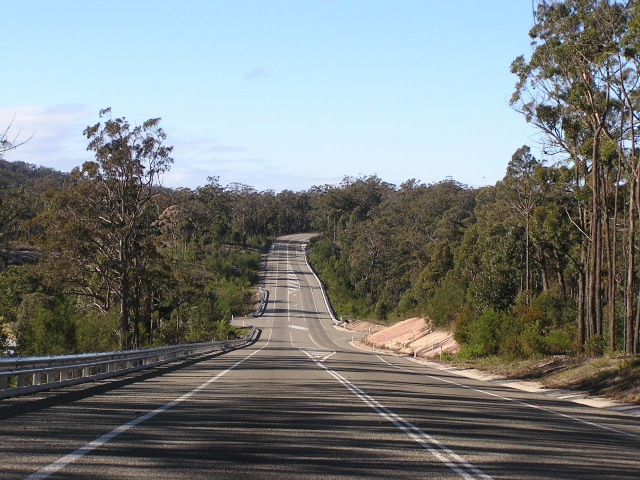
Looking south near the Victorian Border on a recently reconstructed section of highway. Jul 2005. |
 |
Southbound at Imlay Road. Jul 2005. |
 |
The distance sign looking north from the Victorian Border. Jul 2005. |
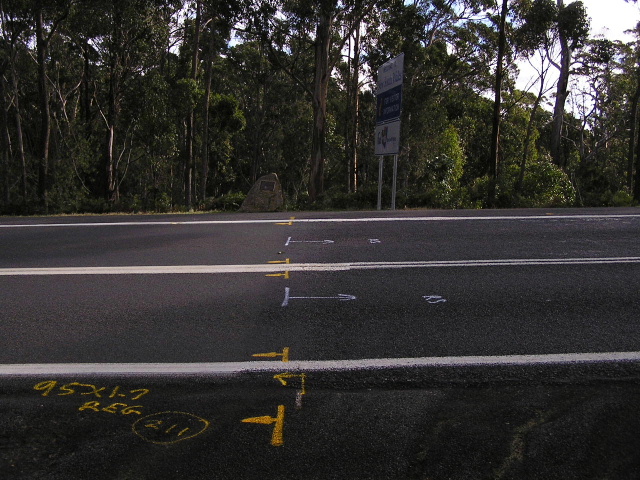 |
Markings on the road that define the NSW/Victoria State Border. Jul 2005. |